FlutterでHello World
備忘録としてFlutterでHello Worldするまでをまとめておきます

私の環境
項目 | 内容 |
|---|---|
OS | macOS Ventura Version 13.2.1 |
Chip | Apple M2 Pro |
IDE | IntelliJ IDEA Ultimate |
※ 私はIntelliJの有償ライセンスを持っており色々なアプリケーションをIntellij IDEA Ultimateで開発していて慣れているので使っていますが、無償のAndroid Studioでも大差ないと思います。
環境構築
公式にしたがって環境構築をします。
Apple Siliconのflutterをインストールしてzipを解凍し、PATHを通します。
$ cd
$ mkdir development
$ cd development
$ unzip ~/Downloads/flutter_macos_3.10.6-stable.zip
.zshrcに以下の一行を追加しておきます。
export PATH="$PATH:/<Home Directory>/development/flutter/bin"flutter doctor コマンドで状況を確認します。
$ flutter doctor
Doctor summary (to see all details, run flutter doctor -v):
[✓] Flutter (Channel stable, 3.10.6, on macOS 13.2.1 22D68 darwin-arm64, locale en-JP)
[✓] Android toolchain - develop for Android devices (Android SDK version 33.0.2)
[✓] Xcode - develop for iOS and macOS (Xcode 14.3.1)
[✓] Chrome - develop for the web
[✓] Android Studio (version 2022.1)
[✓] IntelliJ IDEA Ultimate Edition (version 2023.1.4)
[✓] IntelliJ IDEA Ultimate Edition (version 2022.3.3)
[✓] IntelliJ IDEA Ultimate Edition (version 2023.1.4)
[✓] VS Code (version 1.80.0)
[✓] Connected device (2 available)
[✓] Network resources

• No issues found!
Xcodeその他のインストールは既に済んでいたので、全てOKになりました。
もし「X」があれば、公式を参考にインストールします。
※エミュレーターのインストールが結構面倒でした。
app作成
IDEからflutter projectを作成するパターンが多いと思いますが、私はCLIを使う方がシンプルで分かり易いと思うので、flutter-cli を参考に作成します。
# flutter専用のディレクトリを切っておく
$ cd
$ mkdir workspace
$ cd workspace
$ mkdir flutter-apps
$ cd flutter-apps

# ここからflutterアプリの作成、検証
$ flutter create helloworld
$ cd helloworld
$ flutter analyze
Analyzing helloworld...
No issues found! (ran in 3.8s)
$ flutter test
00:04 +1: All tests passed!
$ flutter run lib/main.dart
Connected devices:
macOS (desktop) • macos  • darwin-arm64   • macOS 13.2.1 22D68 darwin-arm64
Chrome (web)    • chrome • web-javascript • Google Chrome 115.0.5790.114

No wireless devices were found.

[1]: macOS (macos)
[2]: Chrome (chrome)
Please choose one (or "q" to quit): 1
Launching lib/main.dart on macOS in debug mode...
2023-07-26 09:21:50.660 xcodebuild[48209:6592267] DVTCoreDeviceEnabledState: DVTCoreDeviceEnabledState_Disabled set via user default (DVTEnableCoreDevice=disabled)
--- xcodebuild: WARNING: Using the first of multiple matching destinations:
{ platform:macOS, arch:arm64, id:00006020-001151093EE8C01E }
{ platform:macOS, arch:x86_64, id:00006020-001151093EE8C01E }
warning: Run script build phase 'Run Script' will be run during every build because it does not specify any outputs. To address this warning, either add output dependencies to the script phase, or configure it to run in every build by unchecking "Based on dependency analysis" in the script phase. (in target 'Flutter Assemble' from project 'Runner')
Building macOS application...
Syncing files to device macOS...                                    35ms

Flutter run key commands.
r Hot reload. 🔥🔥🔥
R Hot restart.
h List all available interactive commands.
d Detach (terminate "flutter run" but leave application running).
c Clear the screen
q Quit (terminate the application on the device).

A Dart VM Service on macOS is available at: http://127.0.0.1:63412/uG3b-Nf3weY=/
The Flutter DevTools debugger and profiler on macOS is available at:
http://127.0.0.1:9100?uri=http://127.0.0.1:63412/uG3b-Nf3weY=/
Lost connection to device.
macOSで起動すると、こんな画面が表示されました。(+でカウントアップできます)
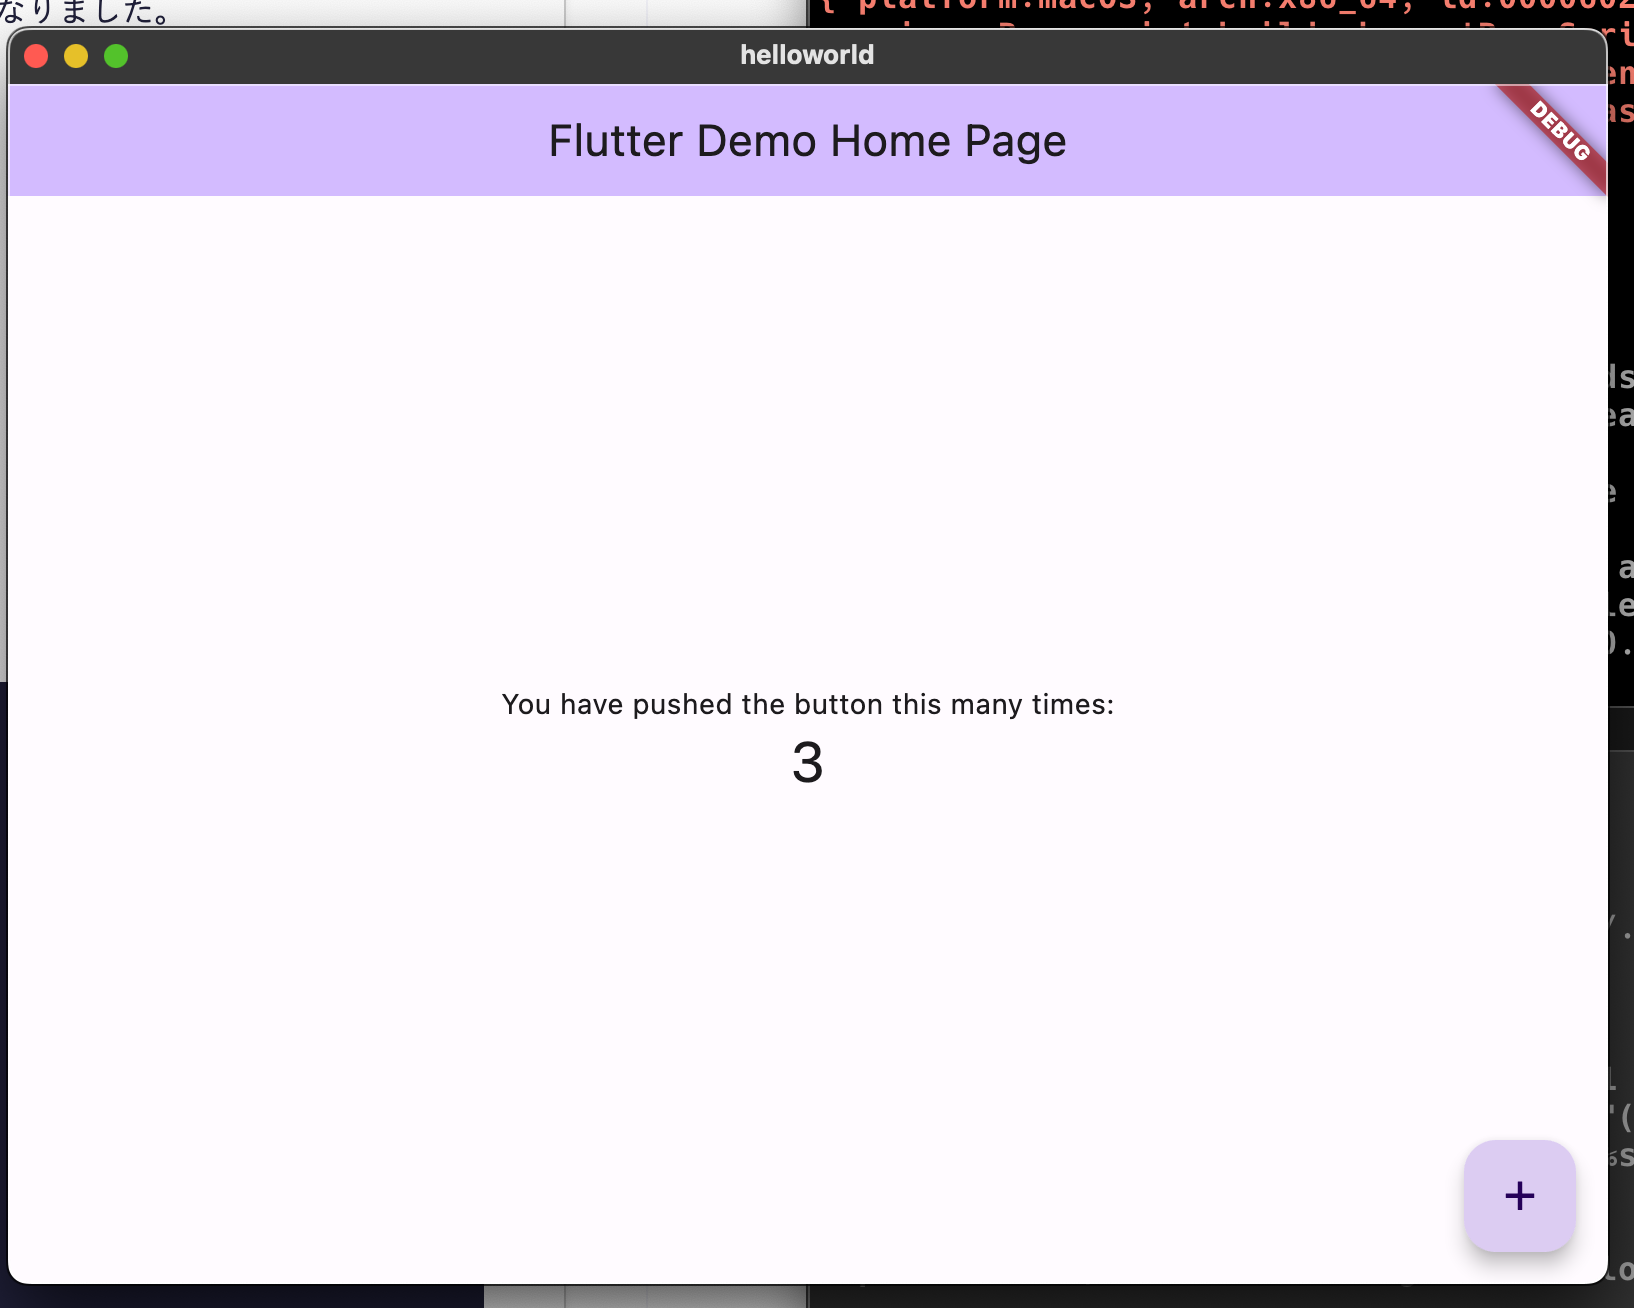
Hello World
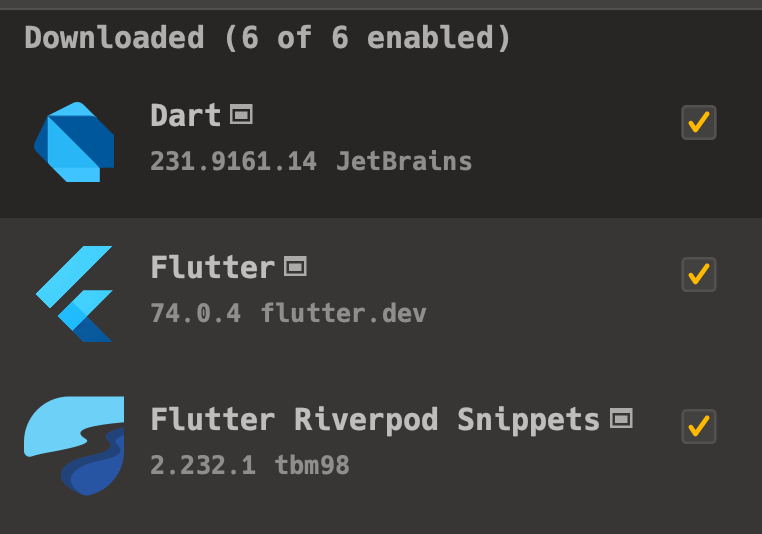
IntelliJ Ultimate を起動して、先ほど作成した helloworld のプロジェクトを開きます。
プラグインが入っていなければ、入れます。私は取り急ぎ以下3つを入れました。
先ほどはmacOSで起動しましたが、iPhoneかAndroidで開発することが多いと思います。
以下を参考にデバイス(エミュレーター)を準備します。
https://developer.android.com/studio/run/managing-avds?hl=ja
https://docs.flutter.dev/get-started/install/macos
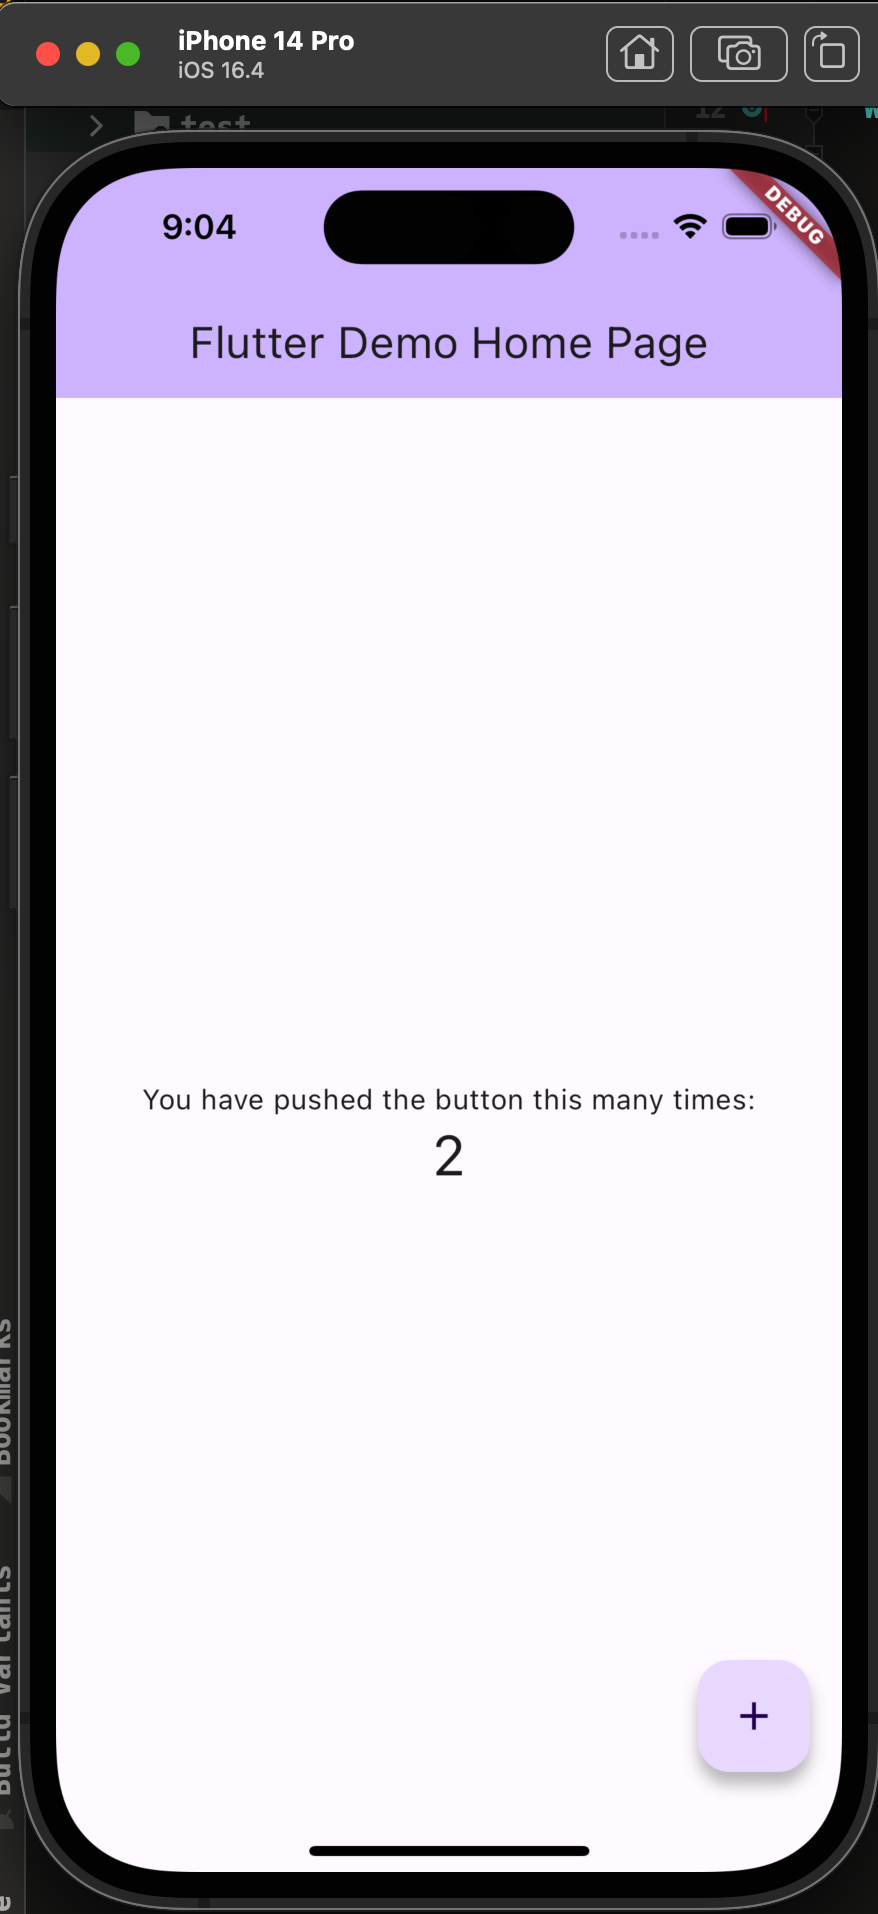
IDEの上部でiPhone 14 Pro を選択して、実行します。

最初なのでしばらく待つと、先ほどのカウントアップアプリがiPhoneのエミュレーター上で起動します。
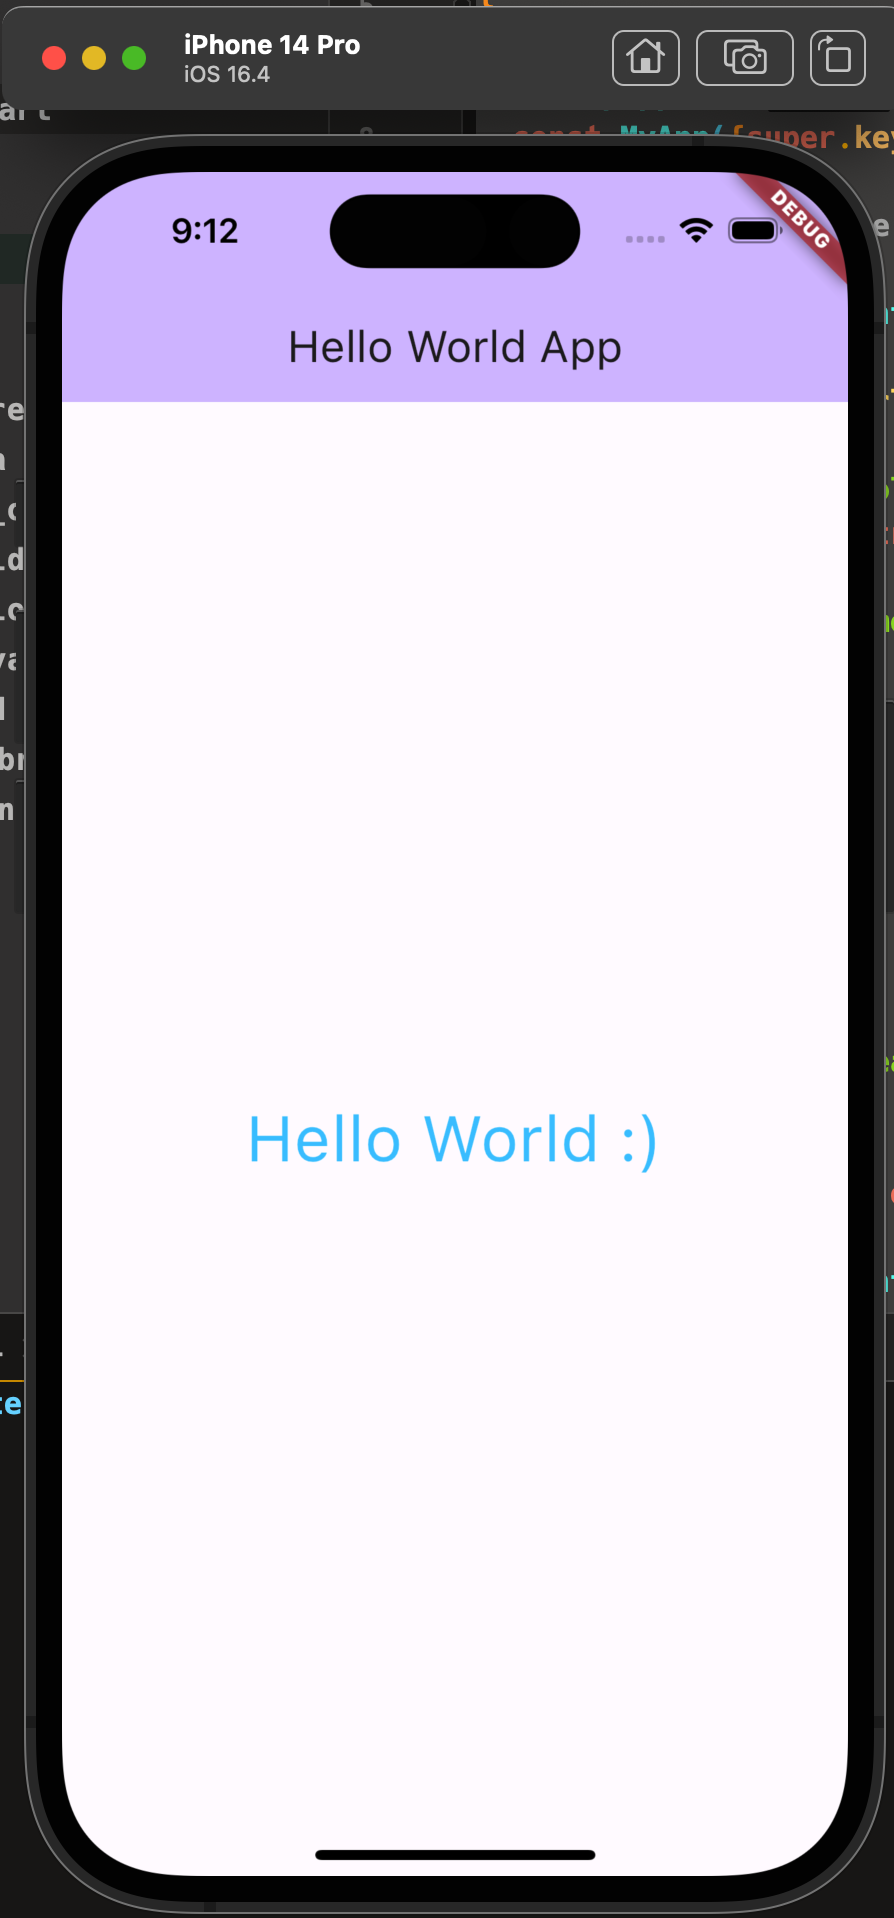
あとは、ソースコードを以下のように書き換えると、晴れて Hello World の完成です。
import 'package:flutter/material.dart';

void main() {
  runApp(const MyApp());
}

class MyApp extends StatelessWidget {
  const MyApp({super.key});

  // This widget is the root of your application.
  @override
  Widget build(BuildContext context) {
    return MaterialApp(
      title: 'Hello World App',
      theme: ThemeData(
        colorScheme: ColorScheme.fromSeed(seedColor: Colors.deepPurple),
        useMaterial3: true,
      ),
      home: const MyHomePage(title: 'Hello World App'),
    );
  }
}

class MyHomePage extends StatefulWidget {
  const MyHomePage({super.key, required this.title});
  final String title;

  @override
  State<MyHomePage> createState() => _MyHomePageState();
}

class _MyHomePageState extends State<MyHomePage> {
  @override
  Widget build(BuildContext context) {
    return Scaffold(
      appBar: AppBar(
        backgroundColor: Theme.of(context).colorScheme.inversePrimary,
        title: Text(widget.title),
      ),
      body: Center(
        child: Column(
          mainAxisAlignment: MainAxisAlignment.center,
          children: <Widget>[
            const Text(
              'Hello World :)',
              style: TextStyle(color: Colors.lightBlueAccent, fontSize: 32),
            ),
          ],
        ),
      ),
    );
  }
}
今後のFlutterでの開発について
とりあえず、認証もDBも状態管理ライブラリ(Riverpodとか)を何も使わない超簡単なアプリを開発してiOS, Androidそれぞれリリースするところから始めようと思ってます。ソースコードも公開しようと思ってます。それで大体要領が分かったら、徐々に難易度を上げていこうと思ってます。引き続きブログでも書いていきます。