Flutterでアイコンをタップしたら音が出るシンプルなアプリを開発してリリースする 3/n Firebase及びCrashlyticsの導入
Flutterでアイコンをタップしたら音が出るシンプルなアプリを開発してリリースするまでをまとめるシリーズの3記事目です

概要
現在1歳1ヶ月の息子向けに、動物と乗り物のアイコンをタップすると音が鳴るシンプルなアプリを作っています。これをiOSとAndroid両方でリリースすることをゴールとしています。
前回まで
記事はこちらのタグに紐づけています。
https://zubora-code.net/ja/tags/first_flutter_tutorial
今回のゴール
前回で機能自体の実装は完了しました。今回の記事では、Crashlyticsを利用してアプリのエラー情報を統合的に管理する方法を導入します。
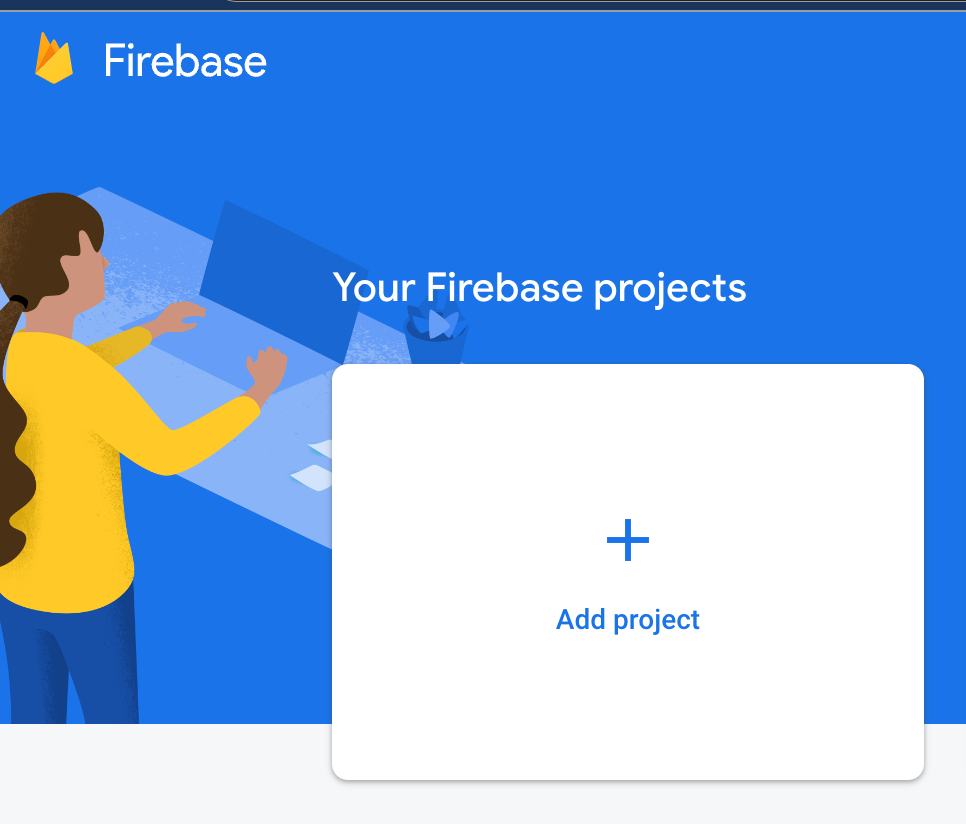
Firebaseプロジェクトの作成
Firebaseのアカウントが未作成の場合はアカウント作成から行います。手順は公式サイトを見れば明らかなので詳細は割愛します。
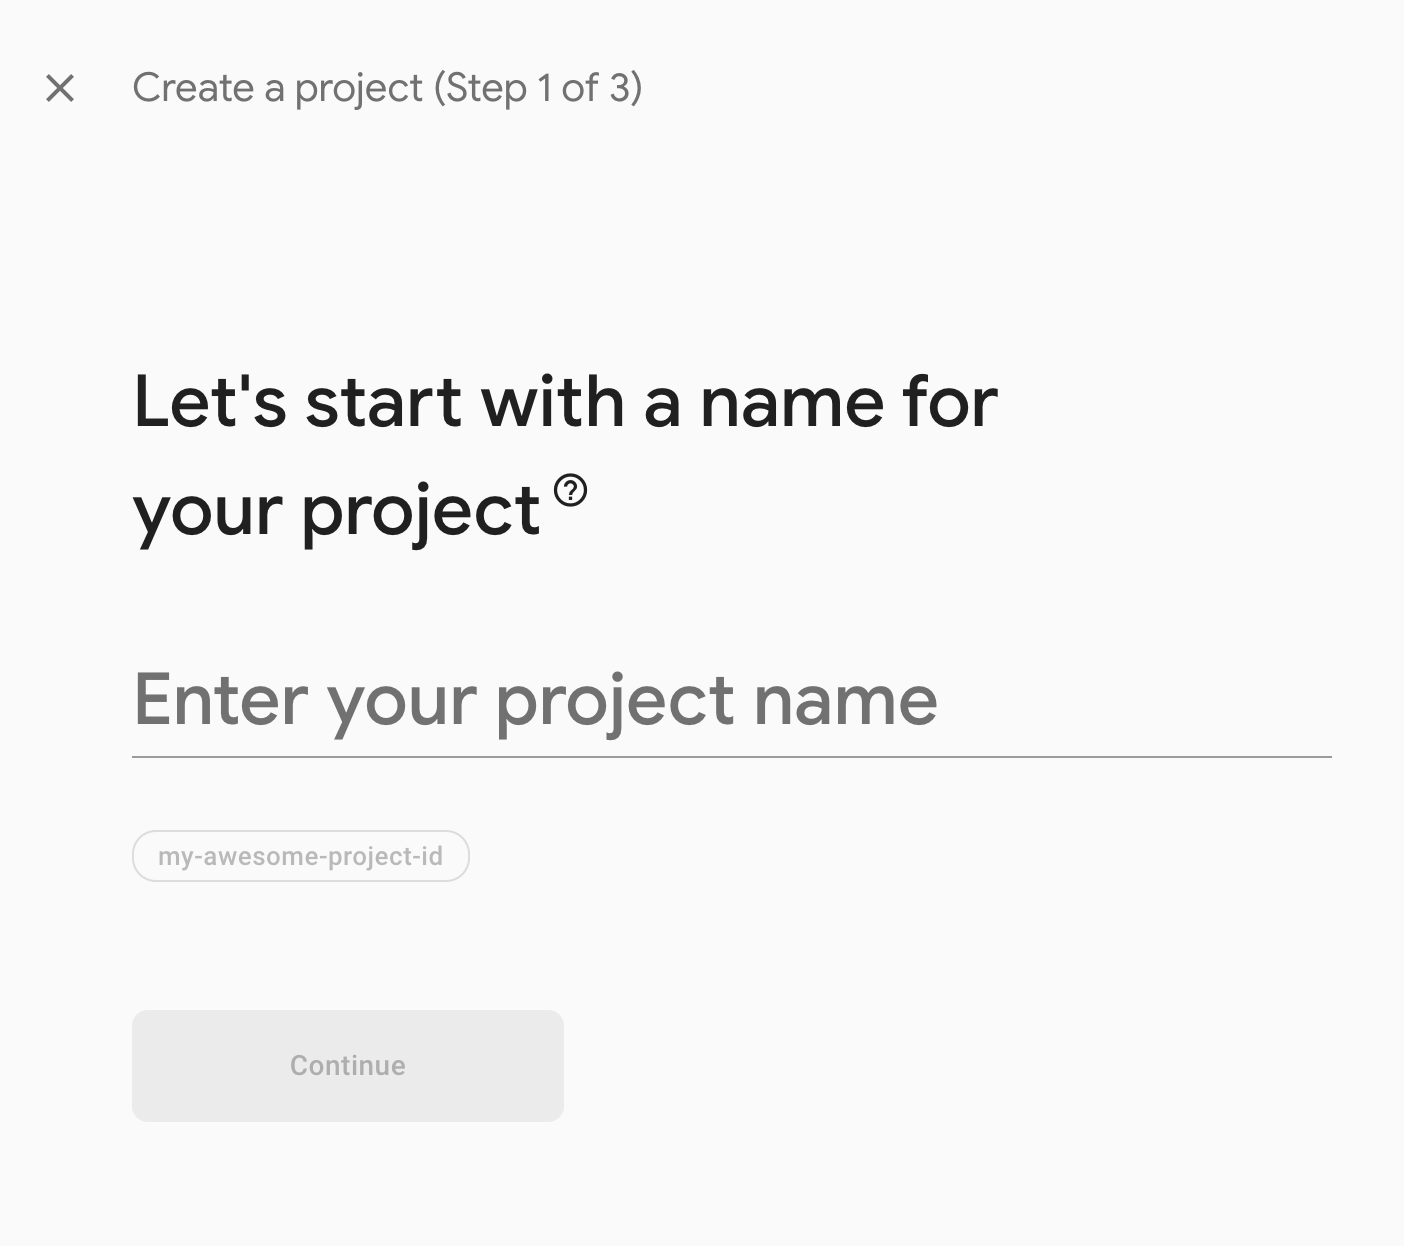
適当な名前でプロジェクトを作成します。
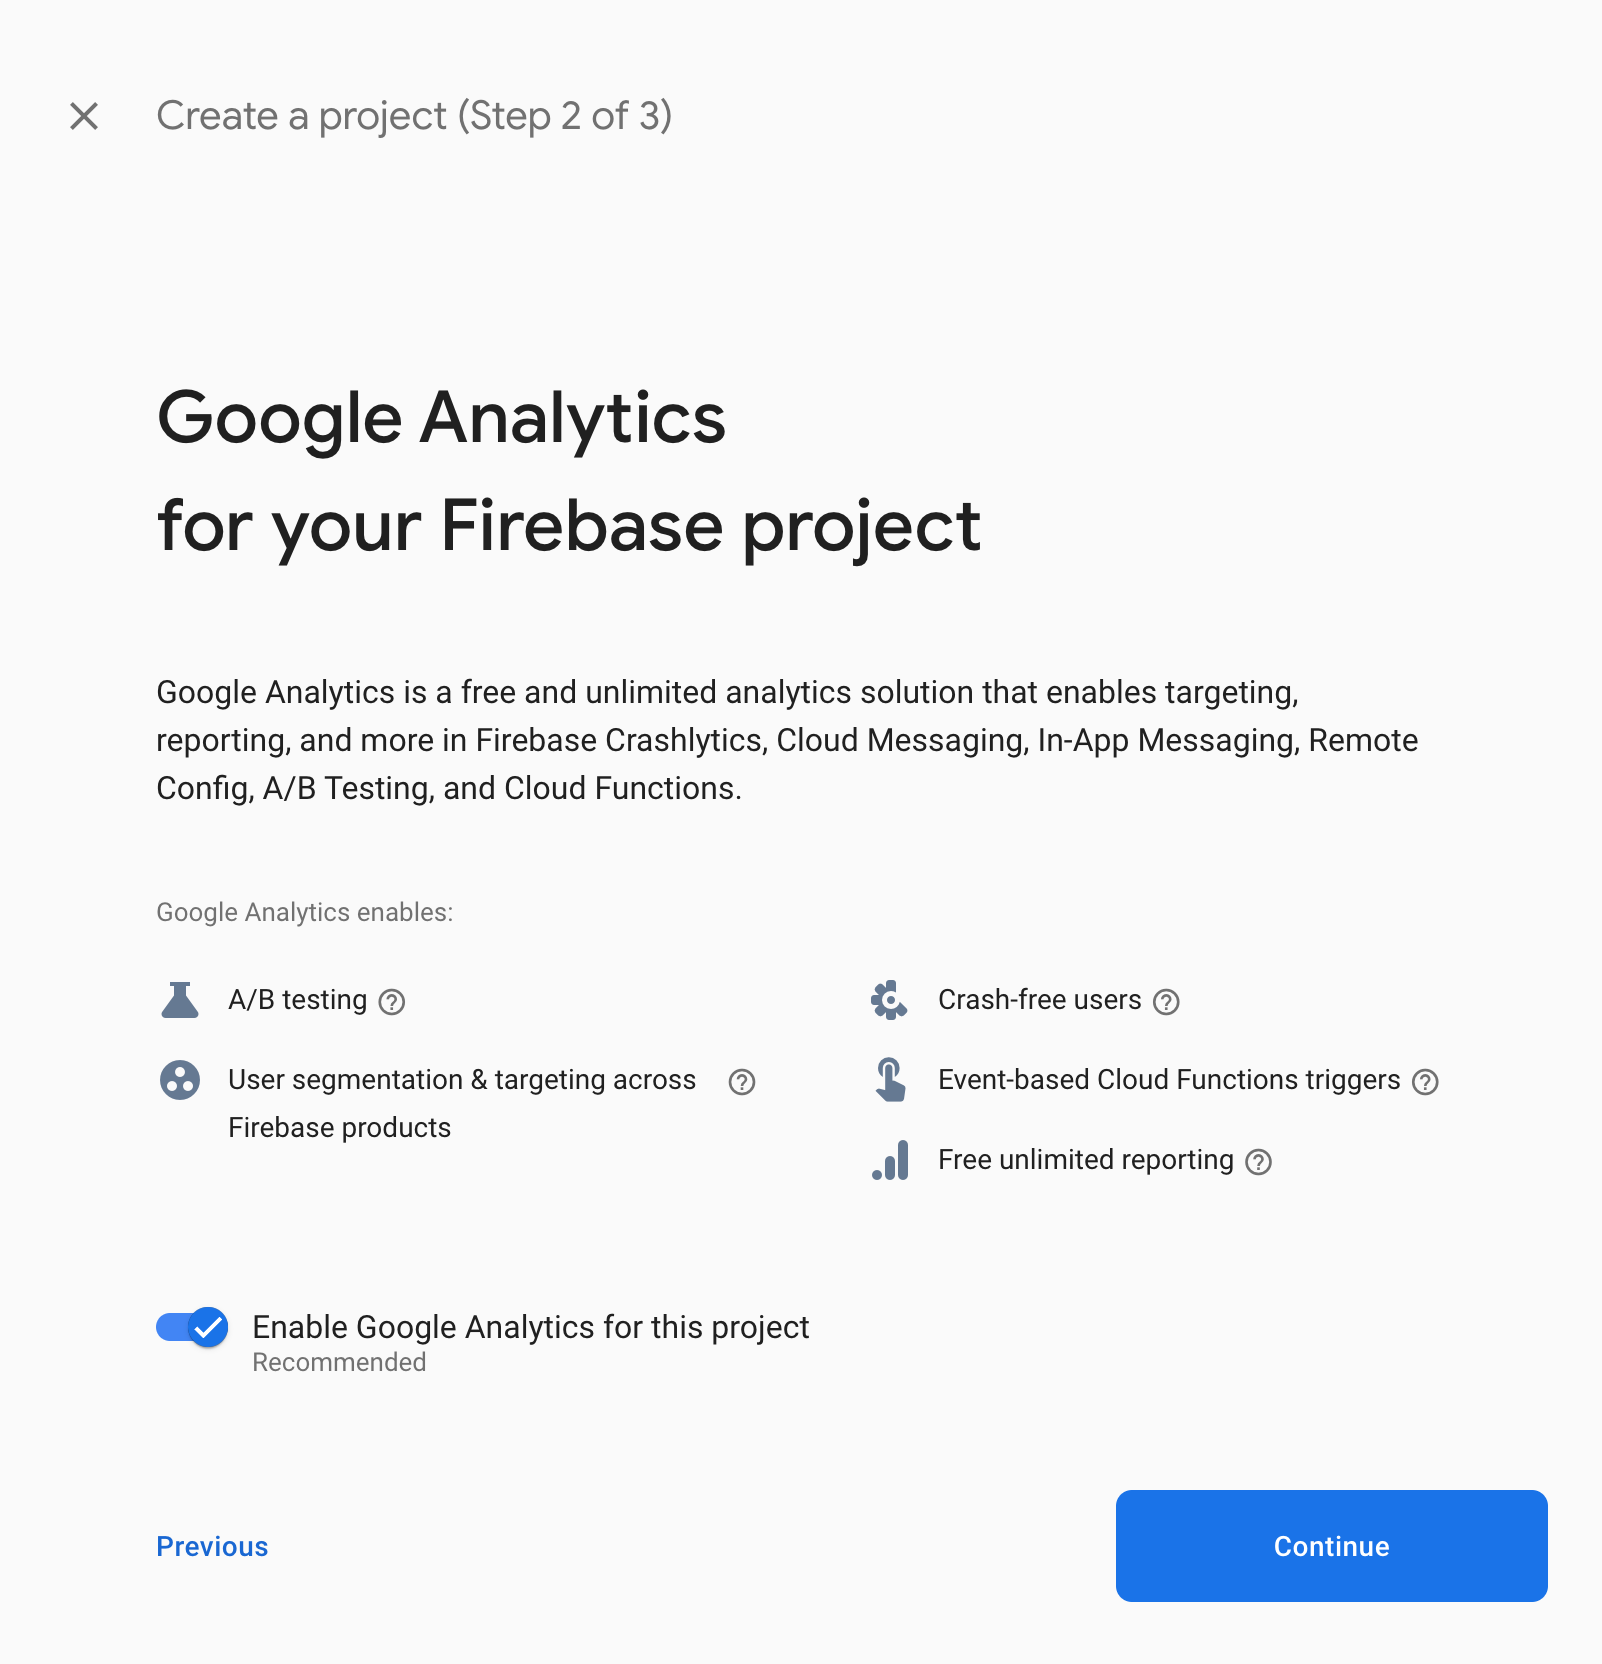
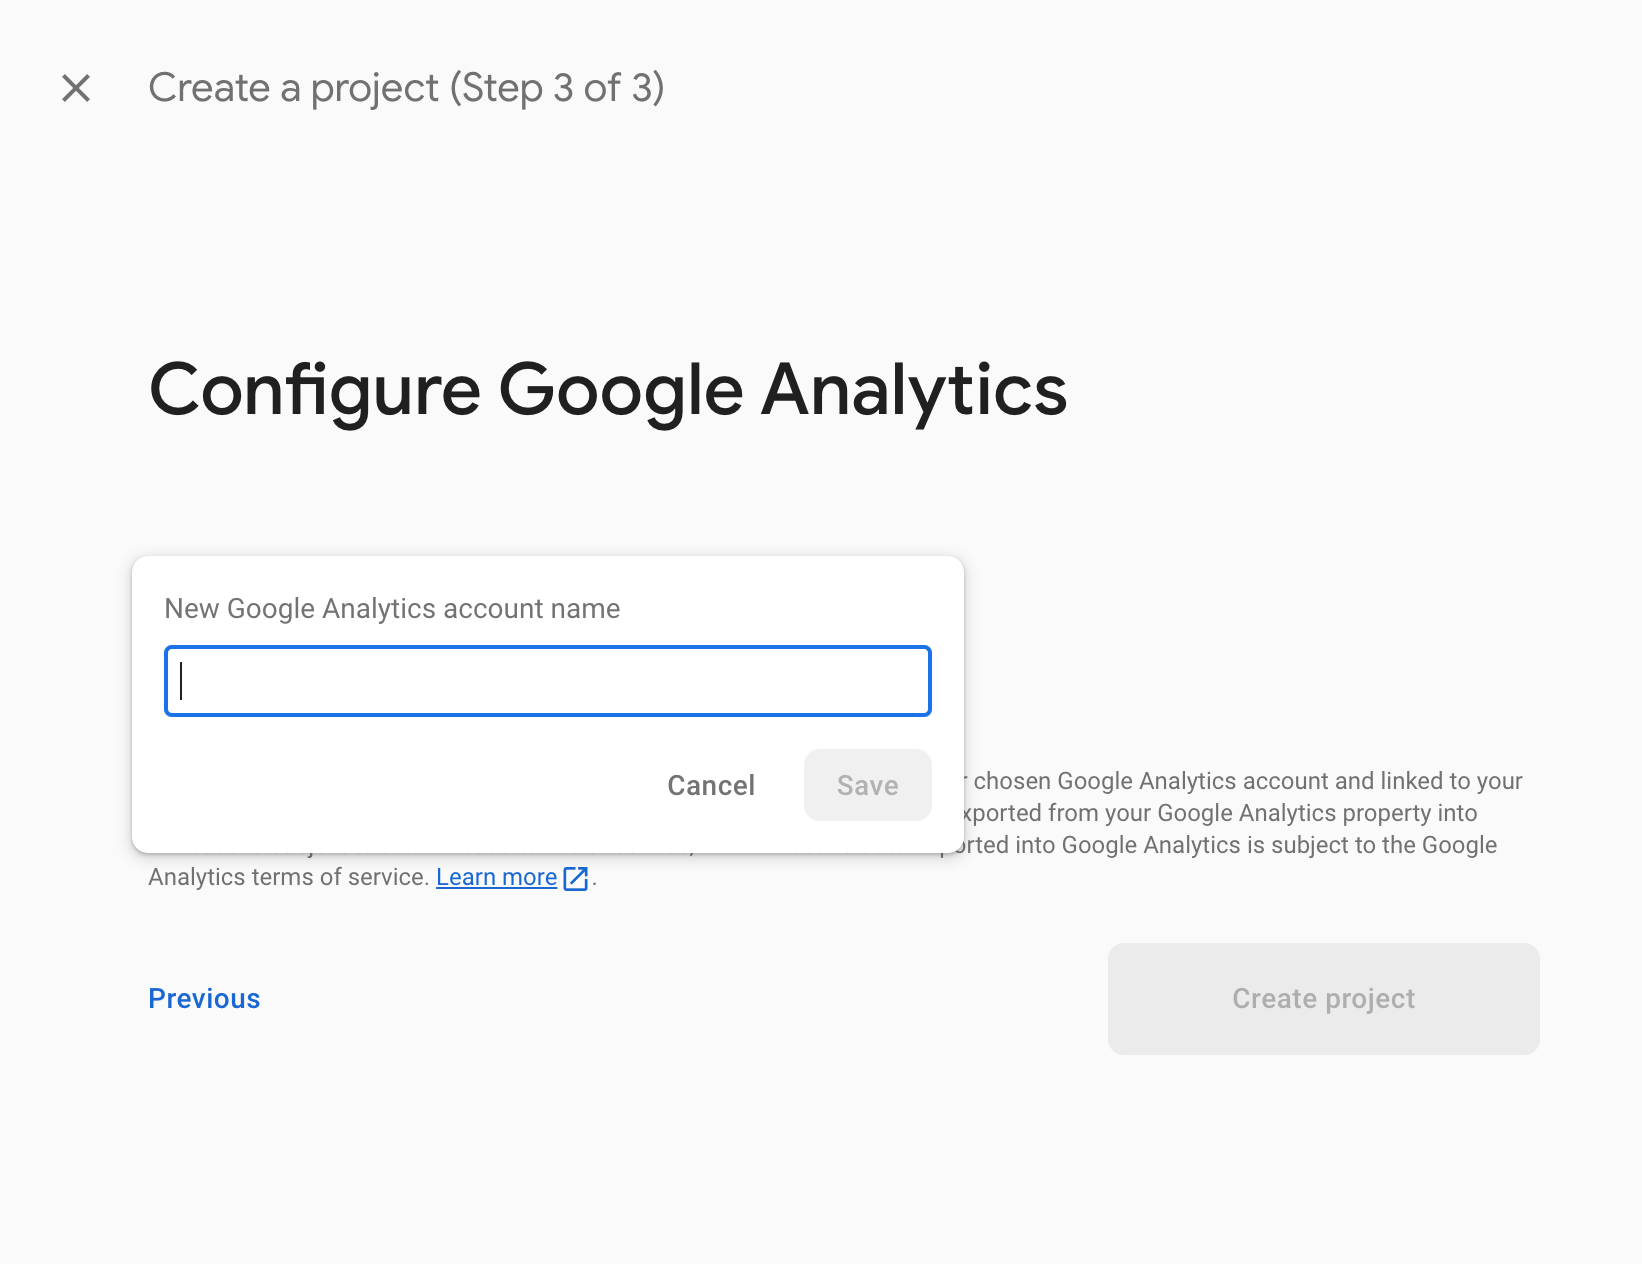
Google Analyticsは有効化しておきます。
地域を選んでContinueを押せば完了です。
Node.jsのインストール
FirebaseとFlutterの紐付けをnpmパッケージを使って行うため、まずNode.jsをインストールします。Webブラウザからインストールしても良いですが、個人的には nodebrew を使ってインストールするのが今後のバージョン管理が楽で良いかなと思います。
nodebrew のインストールには homebrew のインストールが必要です。
TeriminalやiTermを開いて以下のコマンドを入力してください。
~🐯$ /bin/bash -c "$(curl -fsSL https://raw.githubusercontent.com/Homebrew/install/HEAD/install.sh)"そして nodebrew のインストール。
~🐯$ brew install nodebrew
.zshrcにPATH追加
~🐯$ echo 'export PATH=$HOME/.nodebrew/current/bin:$PATH' >> ~/.zshrc
.zshrcをカレントシェルで実行
~🐯$ source .zshrc
nodebrew用のディレクトリ作成
~🐯$ mkdir -p ~/.nodebrew/src
インストール可能なnodeのバージョンを確認
~🐯$ nodebrew ls-remote
v0.0.1    v0.0.2    v0.0.3    v0.0.4    v0.0.5    v0.0.6

v0.1.0    v0.1.1    v0.1.2    v0.1.3    v0.1.4    v0.1.5    v0.1.6    v0.1.7
v0.1.8
...
v18.0.0   v18.1.0   v18.2.0   v18.3.0   v18.4.0   v18.5.0   v18.6.0   v18.7.0
v18.8.0   v18.9.0   v18.9.1   v18.10.0  v18.11.0  v18.12.0  v18.12.1  v18.13.0
v18.14.0  v18.14.1  v18.14.2  v18.15.0  v18.16.0  v18.16.1
...2023年8月時点で公式で推奨されている18.17.0をインストールし設定
~🐯$ nodebrew install-binary v18.17.0

~🐯$ nodebrew ls
v18.17.0

~🐯$ nodebrew use v18.17.0

~🐯$ node -v
v18.17.0
FirebaseとFlutterアプリの紐付け
firebase-toolsというnpmのパッケージをインストールします。
~🐯$ npm install -g firebase-toolsfirebaseにログインします。
~🐯$ firebase login
...
✔  Success! Logged in as toshimitsu.kugimoto@gmail.com
ブラウザが勝手に開いてログインとFirebaseCLIへのアクセス許可を求められるので承認します。
続いてflutterfire_cliを有効化しパスを通します。
~🐯$ dart pub global activate flutterfire_cli
~🐯$ vim .zshrc
export PATH=$HOME/.pub-cache/bin:$PATH~🐯$ source .zshrc
flutterfire コマンドを利用してflutterアプリとfirebaseを紐付けます。
~/workspace/flutter-apps/touch_and_hear🐯(main)$ flutterfire configure --project={先ほど設定したfirebaseのプロジェクト名}以上で紐付け完了です。ここで作成された lib/firebase_options.dart はGitHubにpushしてもセキュリティリスクにはならないとのことですが、紐付けるFirebase Projectが限定されるのでOSSの場合は含むことを推奨しない、とのことです。
https://github.com/firebase/flutterfire/discussions/7617
今回も一応ソースコードは公開しているので、gitignoreしておきます。
...
# firebase
/lib/firebase_options.dart
最後に firebase_core というライブラリをインストールしておきます。
~🐯$ flutter pub add firebase_coreCrashlyticsの導入
まず flutter_crashlytics を導入します。
$ flutter pub add firebase_crashlytics次に、ソースコードを修正します。
 git diff lib/main.dart
diff --git a/lib/main.dart b/lib/main.dart
index 057d8d4..9a1b696 100644
--- a/lib/main.dart
+++ b/lib/main.dart
@@ -1,10 +1,26 @@
+import 'dart:async';
+
+import 'package:firebase_crashlytics/firebase_crashlytics.dart';
 import 'package:flutter/material.dart';
 import 'package:flutter_localizations/flutter_localizations.dart';
 import 'package:flutter_gen/gen_l10n/app_localizations.dart';
+import 'package:firebase_core/firebase_core.dart';
+import 'firebase_options.dart';
 import 'Sound.dart';

-void main() {
-  runApp(const MyApp());
+void main() async {
+  await runZonedGuarded(() async {
+    WidgetsFlutterBinding.ensureInitialized();
+    await Firebase.initializeApp(
+        options: DefaultFirebaseOptions.currentPlatform);
+
+    // The errors catched in Flutter
+    FlutterError.onError = FirebaseCrashlytics.instance.recordFlutterError;
+    runApp(const MyApp());
+  }, (error, stack) {
+    // The errors not catched in Flutter
+    FirebaseCrashlytics.instance.recordError(error, stack);
+  });
 }

 class MyApp extends StatelessWidget {
@@ -48,6 +64,21 @@ class _MyHomePageState extends State<MyHomePage> {
         crossAxisCount: 2,
         // Generate 100 widgets that display their index in the List.
         children: [
+          // The button throws exception
+          ElevatedButton(
+              onPressed: () {
+                FirebaseCrashlytics.instance.log("ExceptionLog");
+                throw Exception("Exception");
+              },
+              child: Text('Throw Exception')),
+          // The button crashes app
+          ElevatedButton(
+              onPressed: () {
+                FirebaseCrashlytics.instance.log("CrashLog");
+                FirebaseCrashlytics.instance.crash();
+                throw Exception("Crash");
+              },
+              child: Text('Crash App')),
           IconButton(
               icon: Image.asset('assets/images/dog.png'),
               iconSize: 50,
とりあえず検証のために、「Throw Exception」ボタンと「Crash App」ボタンを配置しています。(後で取り除きます)
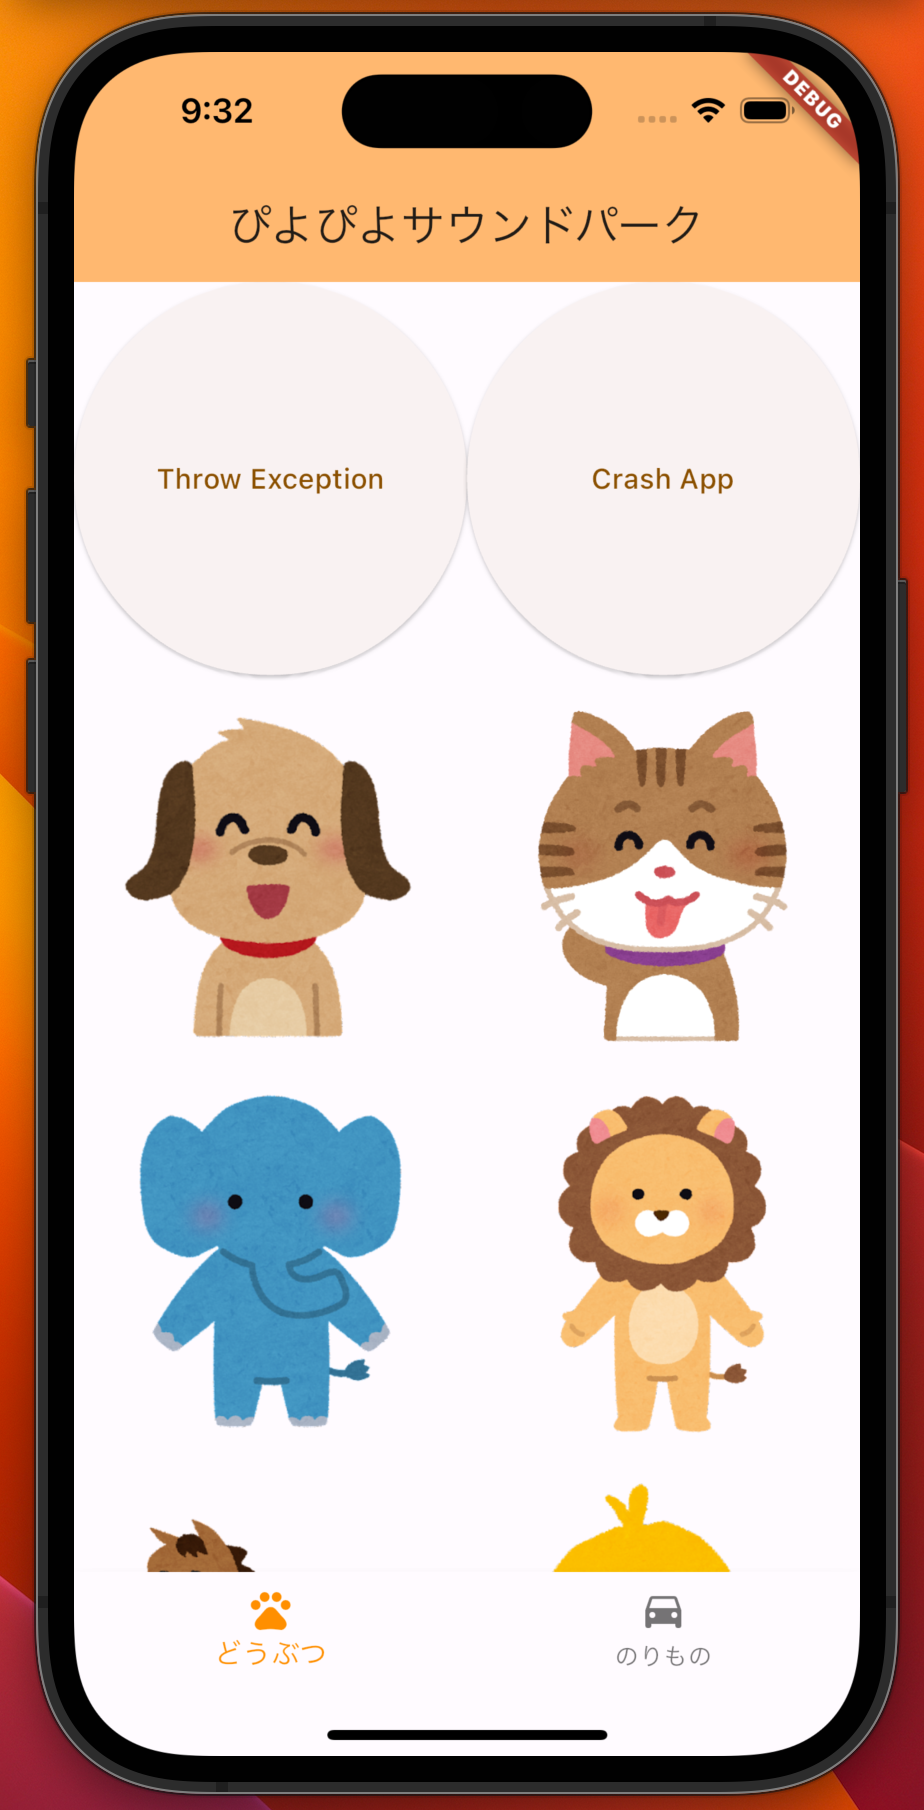
iOSのエミュレータでアプリを起動し、「Throw Exception」→「Crash App」の順にボタンを押して、再度アプリを起動します。
※アプリクラッシュ時は、データが送信されるのは再度アプリを起動した時になります。
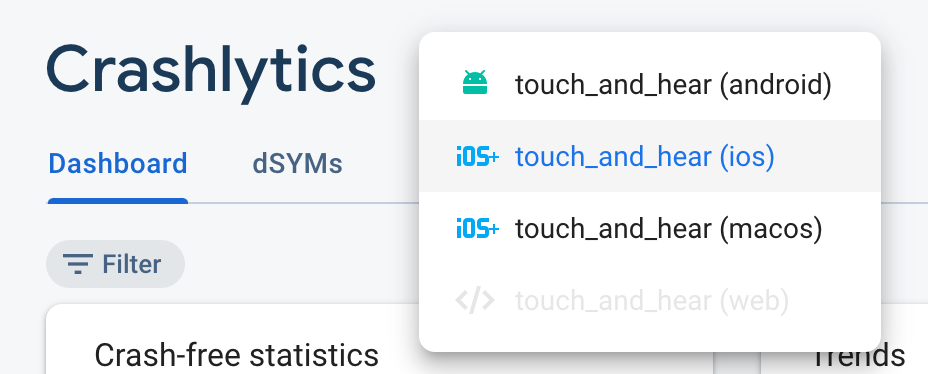
続いてCrashlyticsのダッシュボードを確認します。
Firebase Console → 先ほど作成したプロジェクト → Crashlytics → touch and hear(ios) をクリックします。
こんな感じでレポートが送信されていることが確認できました。
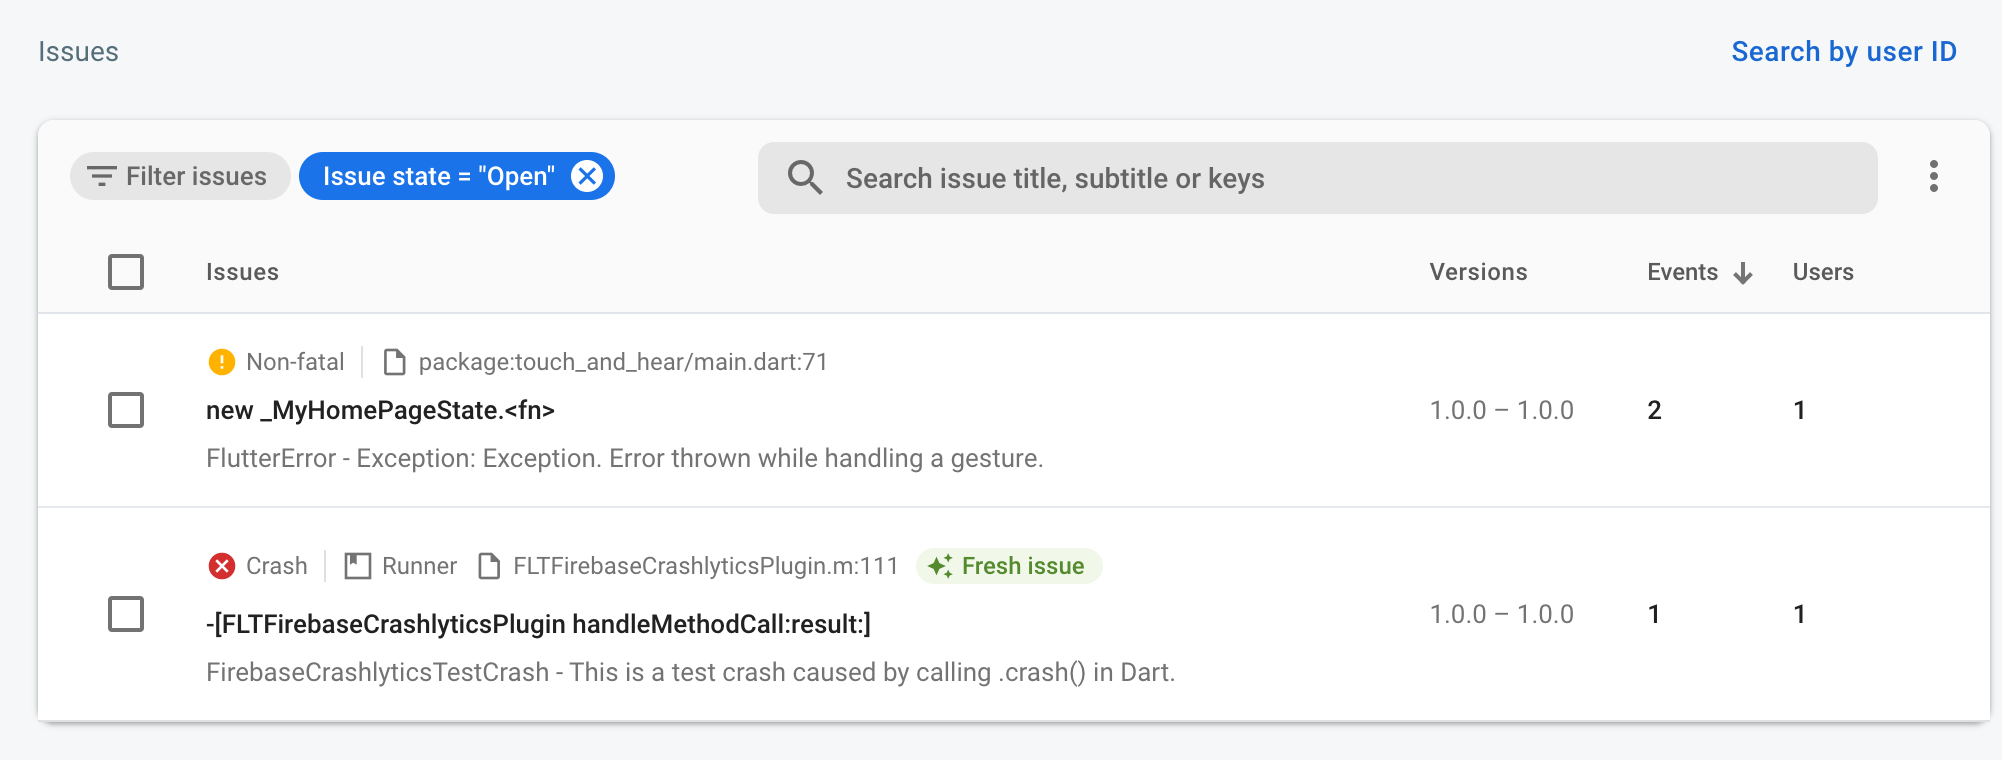
正常に機能していることが確認できたので、最後に先ほど実装したボタンを取り除きます。
最終的な lib/main.dart はこちらです。
import 'dart:async';

import 'package:firebase_crashlytics/firebase_crashlytics.dart';
import 'package:flutter/material.dart';
import 'package:flutter_localizations/flutter_localizations.dart';
import 'package:flutter_gen/gen_l10n/app_localizations.dart';
import 'package:firebase_core/firebase_core.dart';
import 'firebase_options.dart';
import 'Sound.dart';

void main() async {
  await runZonedGuarded(() async {
    WidgetsFlutterBinding.ensureInitialized();
    await Firebase.initializeApp(
        options: DefaultFirebaseOptions.currentPlatform);

    // The errors catched in Flutter
    FlutterError.onError = FirebaseCrashlytics.instance.recordFlutterError;
    runApp(const MyApp());
  }, (error, stack) {
    // The errors not catched in Flutter
    FirebaseCrashlytics.instance.recordError(error, stack);
  });
}

class MyApp extends StatelessWidget {
  const MyApp({super.key});

  @override
  Widget build(BuildContext context) {
    return MaterialApp(
      title: "ぴよぴよサウンドパーク",
      localizationsDelegates: const [
        AppLocalizations.delegate,
        GlobalMaterialLocalizations.delegate,
        GlobalWidgetsLocalizations.delegate,
        GlobalCupertinoLocalizations.delegate,
      ],
      supportedLocales: AppLocalizations.supportedLocales,
      theme: ThemeData(
        colorScheme: ColorScheme.fromSeed(seedColor: Colors.orange),
        useMaterial3: true,
      ),
      home: MyHomePage(),
    );
  }
}

class MyHomePage extends StatefulWidget {
  const MyHomePage({super.key});

  @override
  State<MyHomePage> createState() => _MyHomePageState();
}

Sound sound = Sound();

class _MyHomePageState extends State<MyHomePage> {
  int _selectedIndex = 0;
  final List<Widget> _widgetOptions = <Widget>[
    GridView.count(
        // Create a grid with 2 columns. If you change the scrollDirection to
        // horizontal, this produces 2 rows.
        crossAxisCount: 2,
        // Generate 100 widgets that display their index in the List.
        children: [
          IconButton(
              icon: Image.asset('assets/images/dog.png'),
              iconSize: 50,
              onPressed: () {
                sound.play(SoundIds.DogButton);
              }),
          IconButton(
              icon: Image.asset('assets/images/cat.png'),
              iconSize: 50,
              onPressed: () {
                sound.play(SoundIds.CatButton);
              }),
          IconButton(
              icon: Image.asset('assets/images/elephant.png'),
              iconSize: 50,
              onPressed: () {
                sound.play(SoundIds.ElephantButton);
              }),
          IconButton(
              icon: Image.asset('assets/images/leo.png'),
              iconSize: 50,
              onPressed: () {
                sound.play(SoundIds.LeoButton);
              }),
          IconButton(
              icon: Image.asset('assets/images/horse.png'),
              iconSize: 50,
              onPressed: () {
                sound.play(SoundIds.HorseButton);
              }),
          IconButton(
              icon: Image.asset('assets/images/piyo.png'),
              iconSize: 50,
              onPressed: () {
                sound.play(SoundIds.PiyoButton);
              }),
        ]),
    GridView.count(
        // Create a grid with 2 columns. If you change the scrollDirection to
        // horizontal, this produces 2 rows.
        crossAxisCount: 2,
        // Generate 100 widgets that display their index in the List.
        children: [
          IconButton(
              icon: Image.asset('assets/images/bicycle.png'),
              iconSize: 50,
              onPressed: () {
                sound.play(SoundIds.BicycleButton);
              }),
          IconButton(
              icon: Image.asset('assets/images/bike.png'),
              iconSize: 50,
              onPressed: () {
                sound.play(SoundIds.BikeButton);
              }),
          IconButton(
              icon: Image.asset('assets/images/fune.png'),
              iconSize: 50,
              onPressed: () {
                sound.play(SoundIds.FuneButton);
              }),
          IconButton(
              icon: Image.asset('assets/images/kyukyusya.png'),
              iconSize: 50,
              onPressed: () {
                sound.play(SoundIds.KyuKyuSyaButton);
              }),
          IconButton(
              icon: Image.asset('assets/images/patocar.png'),
              iconSize: 50,
              onPressed: () {
                sound.play(SoundIds.PatocarButton);
              }),
          IconButton(
              icon: Image.asset('assets/images/super_car.png'),
              iconSize: 50,
              onPressed: () {
                sound.play(SoundIds.SuperCarButton);
              }),
        ]),
  ];

  void _onItemTapped(int index) {
    setState(() {
      _selectedIndex = index;
    });
  }

  @override
  Widget build(BuildContext context) {
    final l10n = AppLocalizations.of(context)!;
    return Scaffold(
      appBar: AppBar(
        backgroundColor: Theme.of(context).colorScheme.inversePrimary,
        title: Text(l10n.appTitle),
      ),
      body: Center(
        child: _widgetOptions.elementAt(_selectedIndex),
      ),
      bottomNavigationBar: BottomNavigationBar(
        items: <BottomNavigationBarItem>[
          BottomNavigationBarItem(
            icon: const Icon(Icons.pets),
            label: l10n.animal,
          ),
          BottomNavigationBarItem(
            icon: const Icon(Icons.directions_car),
            label: l10n.vehicle,
          ),
        ],
        currentIndex: _selectedIndex,
        selectedItemColor: Colors.amber[800],
        onTap: _onItemTapped,
      ),
    );
  }
}
最後に
今回の修正は以下のPull Requestです。
https://github.com/tkugimot/touch_and_hear/pull/3?w=1
あと残りやりたいことは以下です。
- AdMobの導入 (広告のため)
- アイコン/フィーチャーグラフィックの作成・設定
- サポートサイト/プライバシーポリシーサイトの作成
- Drawerの追加(アプリの使い方/お問い合わせ/プライバシーポリシーへのリンク)
- Androidへのリリース
- iOSへのリリース
軽く調べてみたところ、AdMobはリリース後にしかできない作業があるようなので、次の記事ではAdMob以外の内容をリリース前タスクとしてまとめて書きます。