Hello World in Flutter
As a memorandum, I will summarize the process of creating 'Hello World' in Flutter.

My Environment
項目 | 内容 |
|---|---|
OS | macOS Ventura Version 13.2.1 |
Chip | Apple M2 Pro |
IDE | IntelliJ IDEA Ultimate |
* Note: I have a paid license for IntelliJ and am familiar with it, so I use IntelliJ IDEA Ultimate for developing various applications. However, I believe the difference is not significant if you use the free Android Studio.
Environment Setup
I will set up the environment according to the official instructions.
Install Apple Silicon Flutter by extracting the zip and adding it to the PATH.
$ cd
$ mkdir development
$ cd development
$ unzip ~/Downloads/flutter_macos_3.10.6-stable.zip
Add the following line to .zshrc:
export PATH="$PATH:/<Home Directory>/development/flutter/bin"
Check the status with the flutter doctor command.
$ flutter doctor
Doctor summary (to see all details, run flutter doctor -v):
[✓] Flutter (Channel stable, 3.10.6, on macOS 13.2.1 22D68 darwin-arm64, locale en-JP)
[✓] Android toolchain - develop for Android devices (Android SDK version 33.0.2)
[✓] Xcode - develop for iOS and macOS (Xcode 14.3.1)
[✓] Chrome - develop for the web
[✓] Android Studio (version 2022.1)
[✓] IntelliJ IDEA Ultimate Edition (version 2023.1.4)
[✓] IntelliJ IDEA Ultimate Edition (version 2022.3.3)
[✓] IntelliJ IDEA Ultimate Edition (version 2023.1.4)
[✓] VS Code (version 1.80.0)
[✓] Connected device (2 available)
[✓] Network resources

• No issues found!
I already had Xcode and other installations, so everything is OK. If there is an "X," I will install it following the official instructions. * Note: Installing the emulator was quite troublesome.
Creating the App
While many prefer to create Flutter projects from the IDE, I find using the CLI simpler and more straightforward, so I will create the app following the flutter-cli guide.
# Create a dedicated directory for Flutter
$ cd
$ mkdir workspace
$ cd workspace
$ mkdir flutter-apps
$ cd flutter-apps

# Start creating and testing the Flutter app
$ flutter create helloworld
$ cd helloworld
$ flutter analyze
Analyzing helloworld...
No issues found! (ran in 3.8s)
$ flutter test
00:04 +1: All tests passed!
$ flutter run lib/main.dart
Connected devices:
macOS (desktop) • macos  • darwin-arm64   • macOS 13.2.1 22D68 darwin-arm64
Chrome (web)    • chrome • web-javascript • Google Chrome 115.0.5790.114

No wireless devices were found.

[1]: macOS (macos)
[2]: Chrome (chrome)
Please choose one (or "q" to quit): 1
Launching lib/main.dart on macOS in debug mode...
2023-07-26 09:21:50.660 xcodebuild[48209:6592267] DVTCoreDeviceEnabledState: DVTCoreDeviceEnabledState_Disabled set via user default (DVTEnableCoreDevice=disabled)
--- xcodebuild: WARNING: Using the first of multiple matching destinations:
{ platform:macOS, arch:arm64, id:00006020-001151093EE8C01E }
{ platform:macOS, arch:x86_64, id:00006020-001151093EE8C01E }
warning: Run script build phase 'Run Script' will be run during every build because it does not specify any outputs. To address this warning, either add output dependencies to the script phase, or configure it to run in every build by unchecking "Based on dependency analysis" in the script phase. (in target 'Flutter Assemble' from project 'Runner')
Building macOS application...
Syncing files to device macOS...                                    35ms

Flutter run key commands.
r Hot reload. 🔥🔥🔥
R Hot restart.
h List all available interactive commands.
d Detach (terminate "flutter run" but leave application running).
c Clear the screen
q Quit (terminate the application on the device).

A Dart VM Service on macOS is available at: http://127.0.0.1:63412/uG3b-Nf3weY=/
The Flutter DevTools debugger and profiler on macOS is available at:
http://127.0.0.1:9100?uri=http://127.0.0.1:63412/uG3b-Nf3weY=/
Lost connection to device.
After launching on macOS, the app looks like this (you can count up using the "+" button):
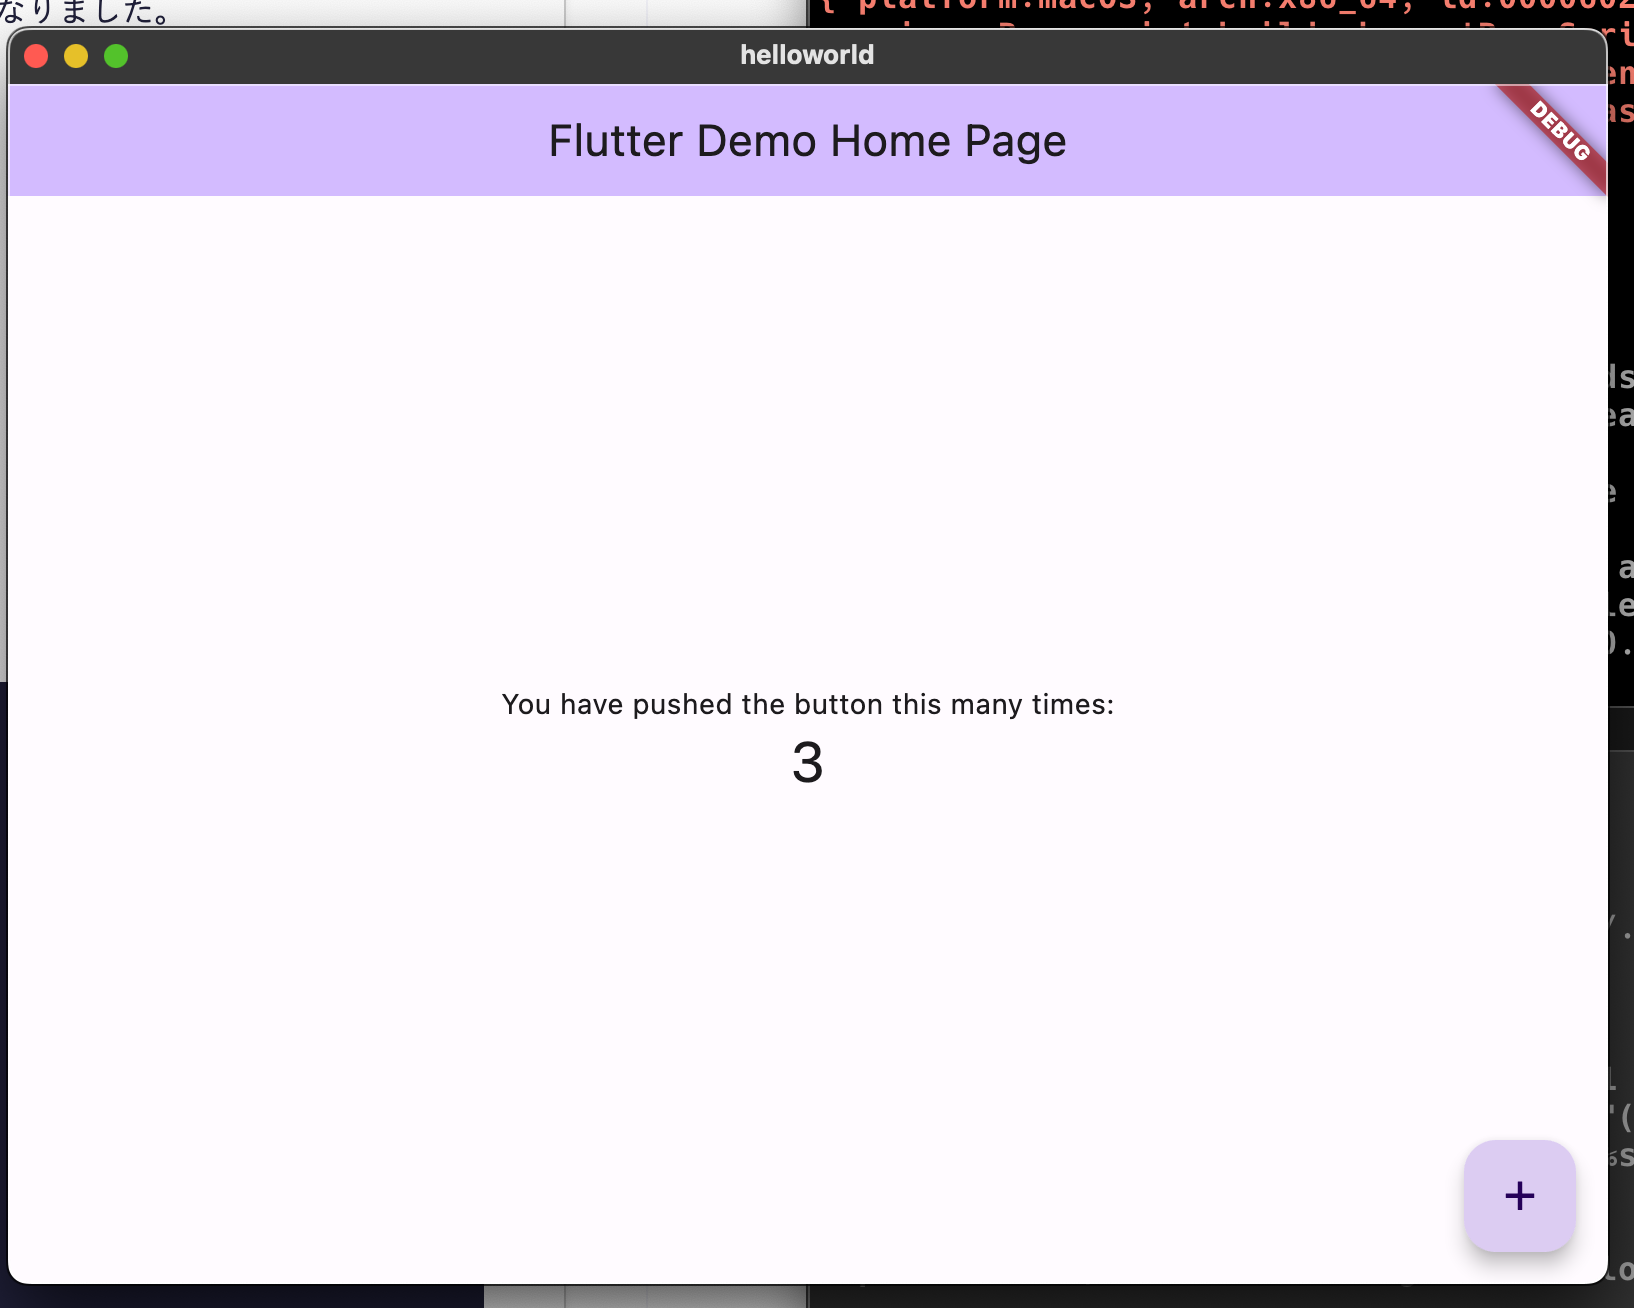
Hello World
Next, I'll open IntelliJ Ultimate and load the helloworld project I created earlier.
If the necessary plugins are not installed, I will install them. I installed the following three plugins quickly.
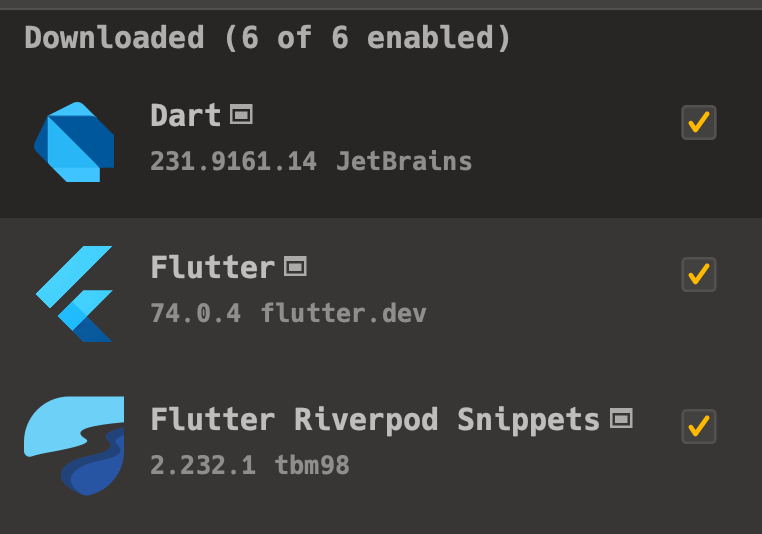
While I ran the app on macOS earlier, I assume most development will be done for iPhone or Android.
To prepare the device (emulator), refer to the following links:
https://developer.android.com/studio/run/managing-avds?hl=ja
https://docs.flutter.dev/get-started/install/macos
From the IDE's top menu, select iPhone 14 Pro and run the app.

After waiting for a while since this is the initial setup, the count-up app will start on the iPhone emulator.
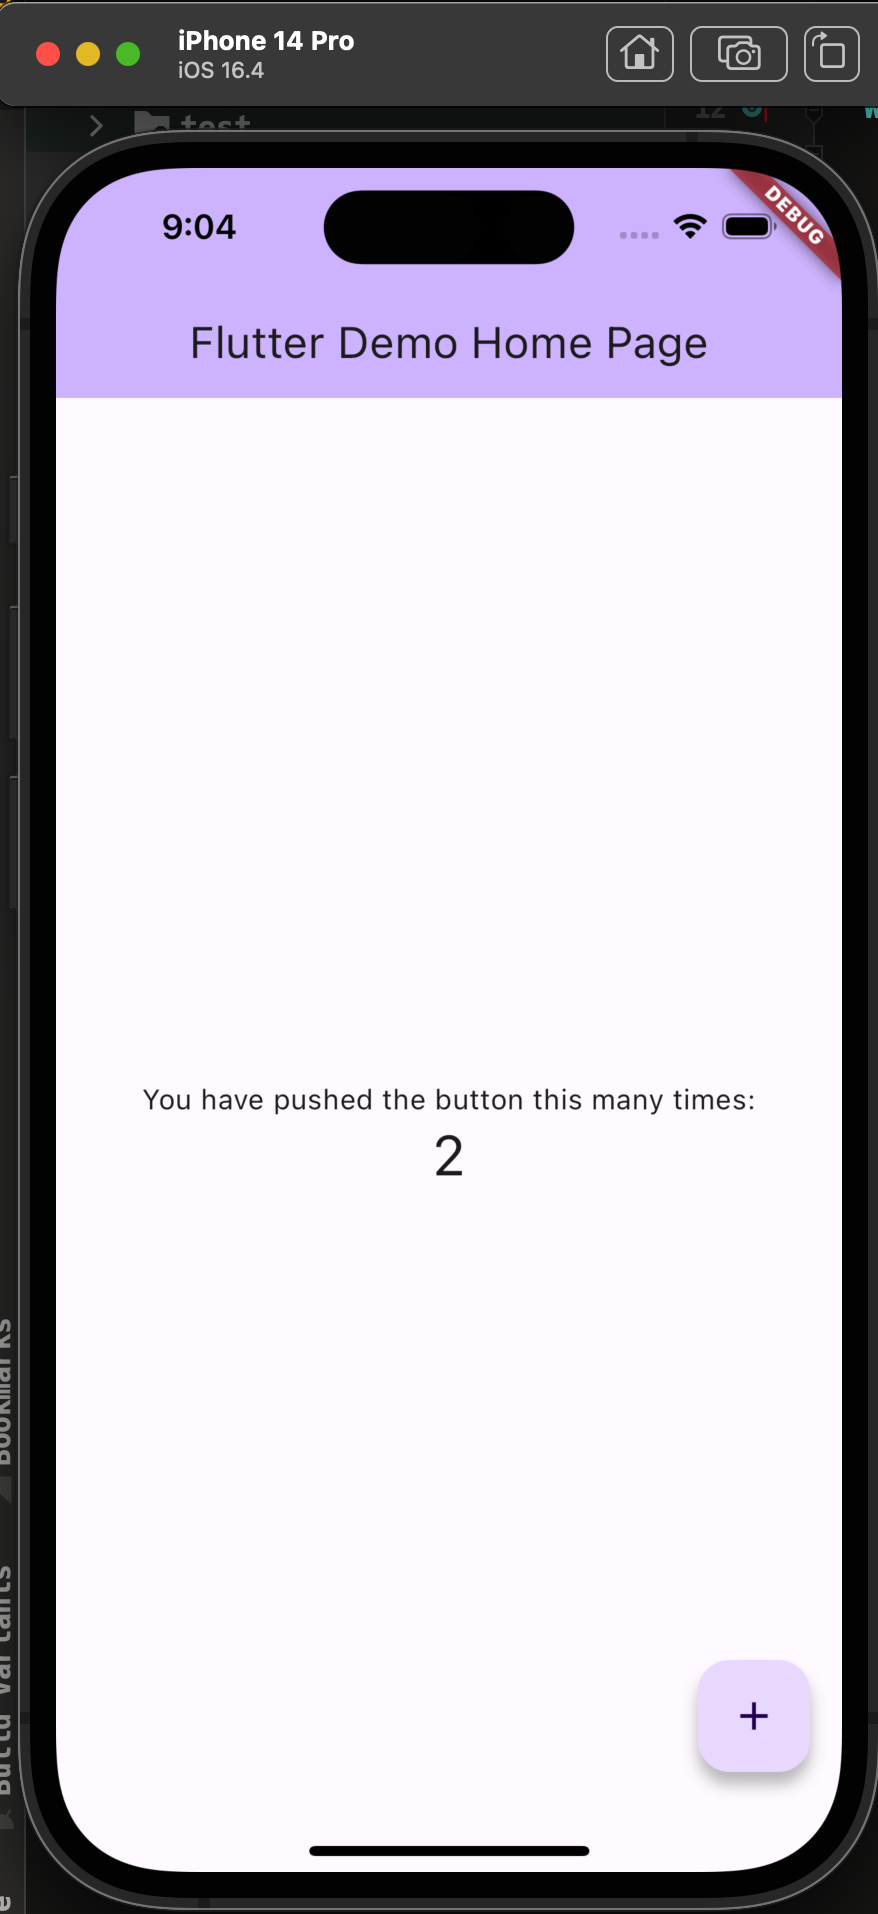
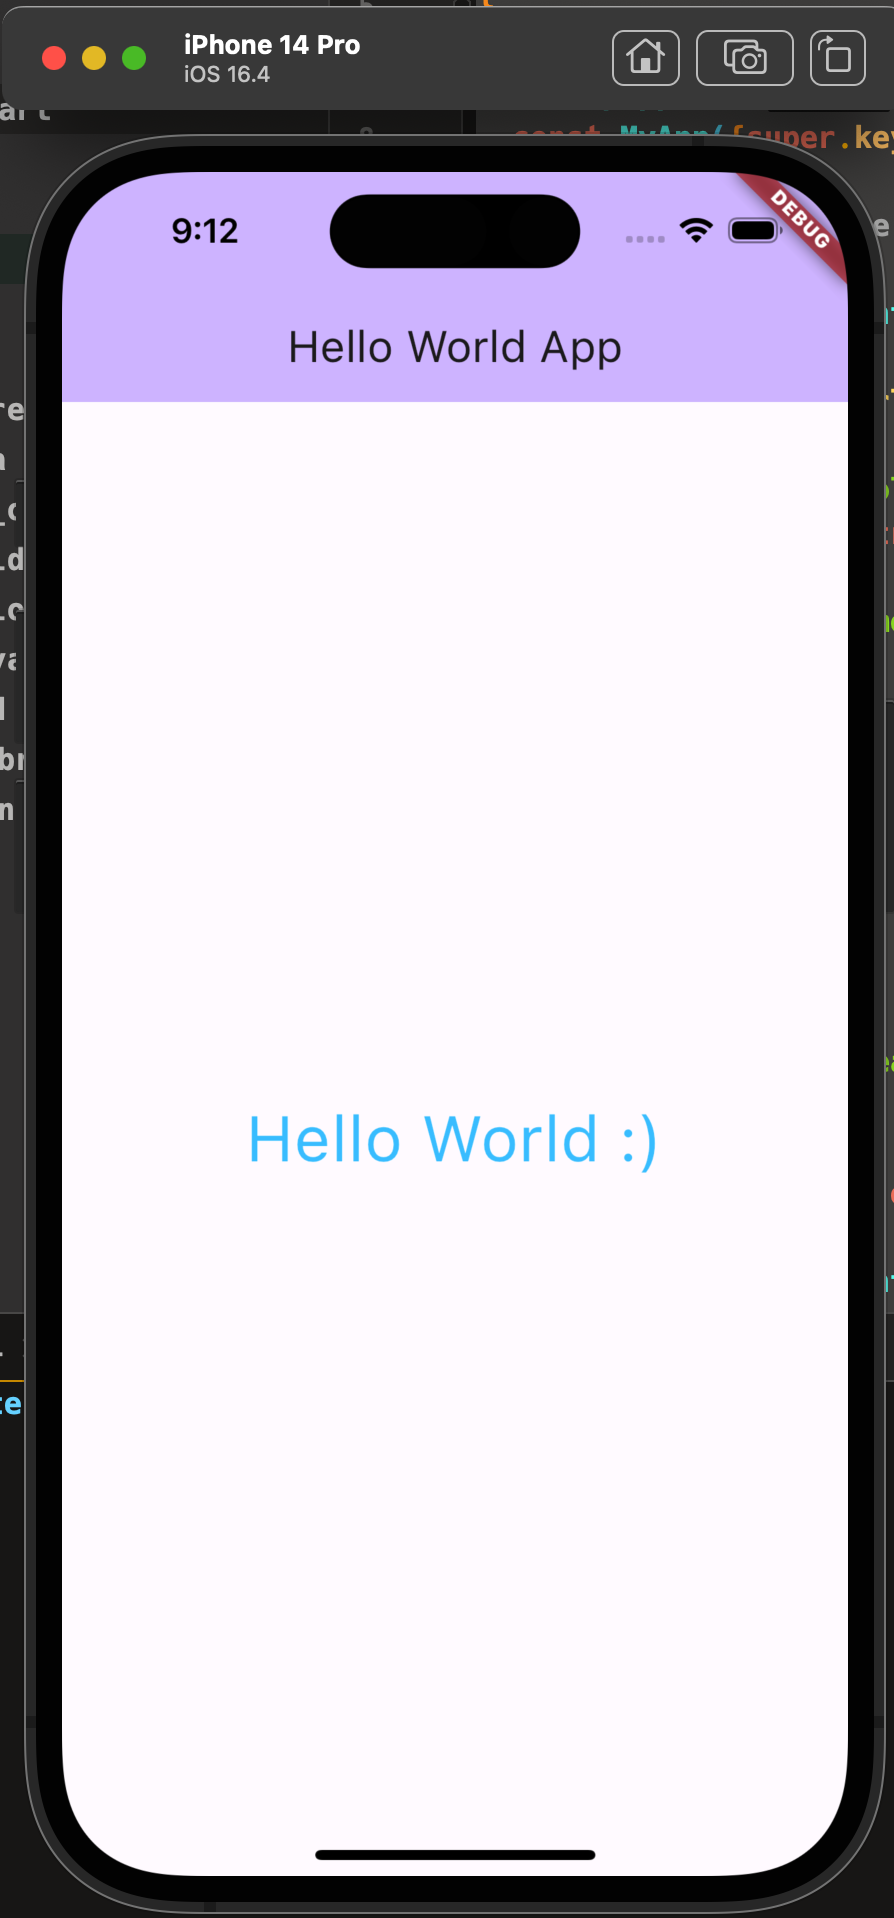
Now, if I modify the source code as follows, the Hello World app is complete:
import 'package:flutter/material.dart';

void main() {
  runApp(const MyApp());
}

class MyApp extends StatelessWidget {
  const MyApp({super.key});

  // This widget is the root of your application.
  @override
  Widget build(BuildContext context) {
    return MaterialApp(
      title: 'Hello World App',
      theme: ThemeData(
        colorScheme: ColorScheme.fromSeed(seedColor: Colors.deepPurple),
        useMaterial3: true,
      ),
      home: const MyHomePage(title: 'Hello World App'),
    );
  }
}

class MyHomePage extends StatefulWidget {
  const MyHomePage({super.key, required this.title});
  final String title;

  @override
  State<MyHomePage> createState() => _MyHomePageState();
}

class _MyHomePageState extends State<MyHomePage> {
  @override
  Widget build(BuildContext context) {
    return Scaffold(
      appBar: AppBar(
        backgroundColor: Theme.of(context).colorScheme.inversePrimary,
        title: Text(widget.title),
      ),
      body: Center(
        child: Column(
          mainAxisAlignment: MainAxisAlignment.center,
          children: <Widget>[
            const Text(
              'Hello World :)',
              style: TextStyle(color: Colors.lightBlueAccent, fontSize: 32),
            ),
          ],
        ),
      ),
    );
  }
}
Future of My Flutter Development
For now, I plan to start developing simple apps without using authentication, databases, or state management libraries like Riverpod. I will focus on releasing these apps for both iOS and Android and plan to make the source code public. Once I get the hang of it, I'll gradually increase the complexity. I'll continue writing about my journey on my blog.
