Develop and release a simple app using Flutter that plays a sound when an icon is tapped. 3/n Introduction of Firebase and Crashlytics
This is the third article in a series summarizing the process of developing and releasing a simple app using Flutter that plays a sound when an icon is tapped.

Summary
I am currently developing a simple app for my 1-year-old son, where he can tap on animal and vehicle icons to hear sounds. The goal is to release this app on both iOS and Android platforms.
Progress so far
The articles have been associated with the following tag:
https://zubora-code.net/ja/tags/first_flutter_tutorial
Goal for this article
We have completed the implementation of the core functionalities in the previous session. In this article, we will introduce how to use Crashlytics to comprehensively manage error information for the app.
Creating a Firebase Project
If you don't have a Firebase account, you need to create one. Visit the official website for detailed instructions.
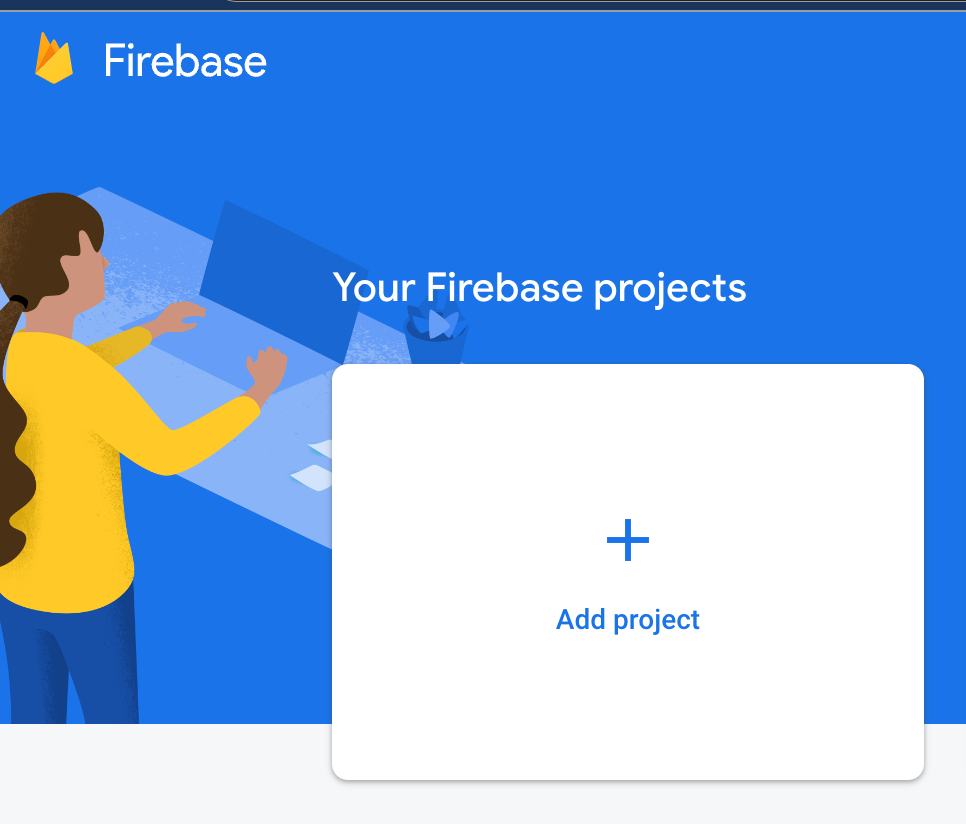
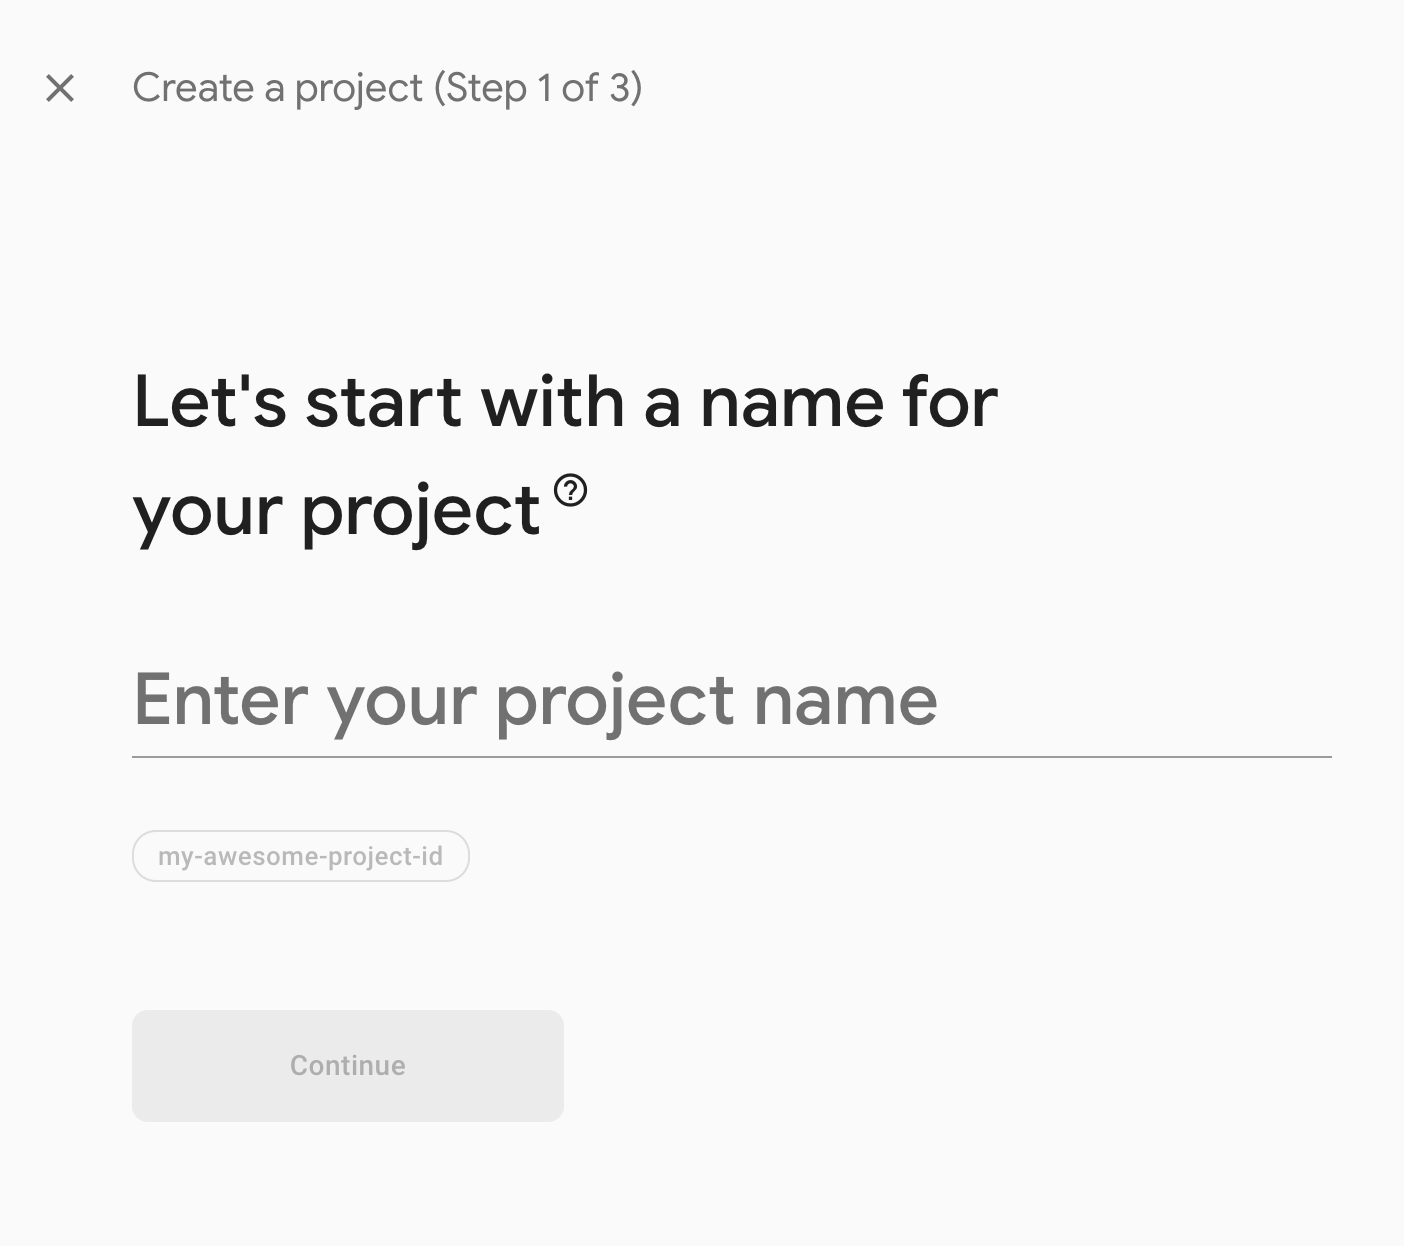
Create a Firebase project with a suitable name.
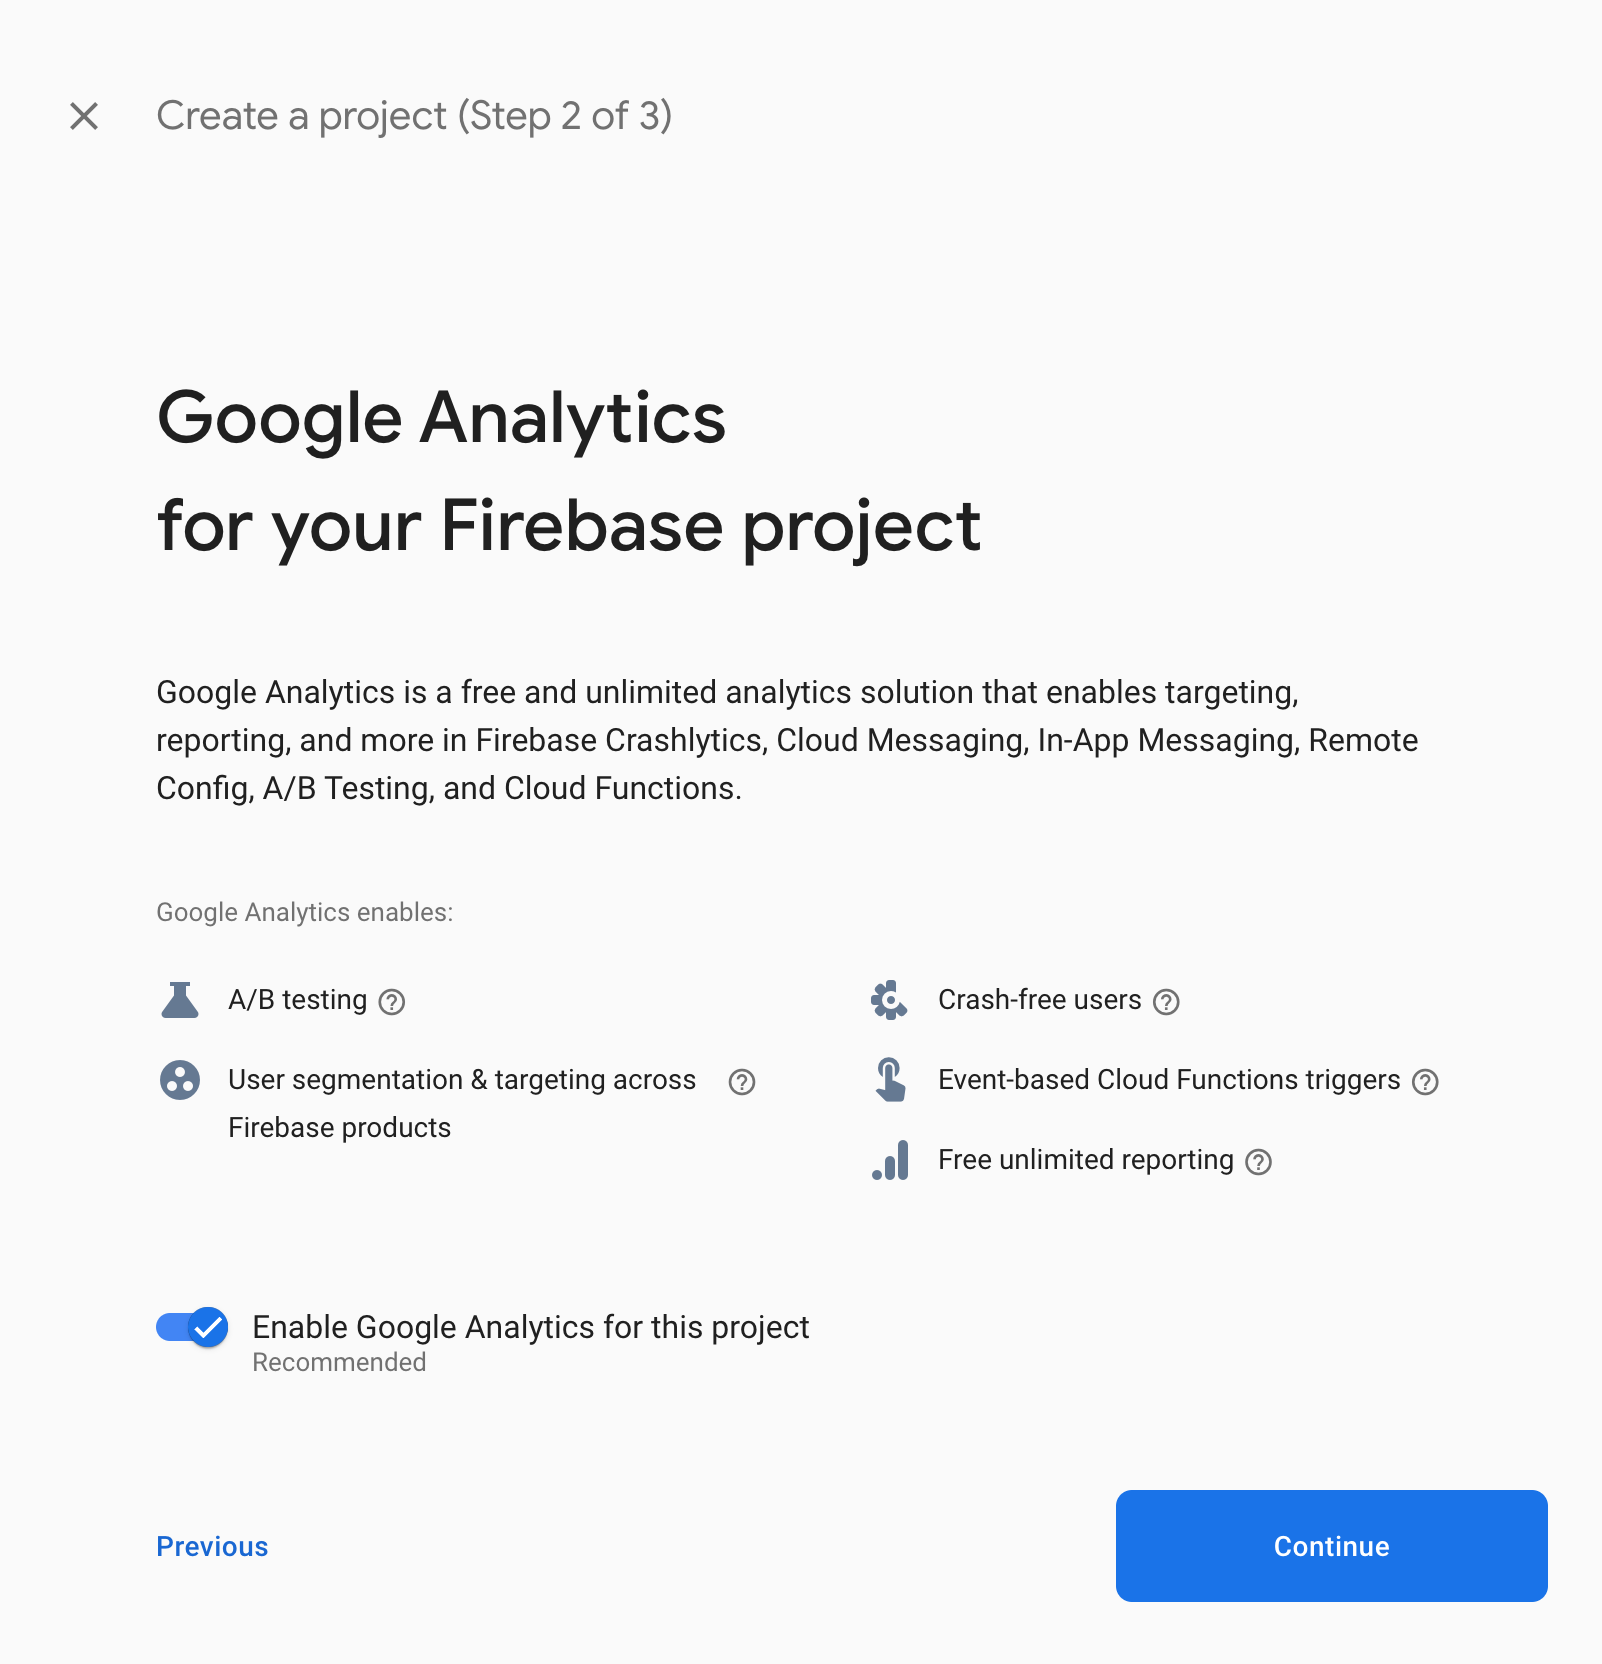
Enable Google Analytics.
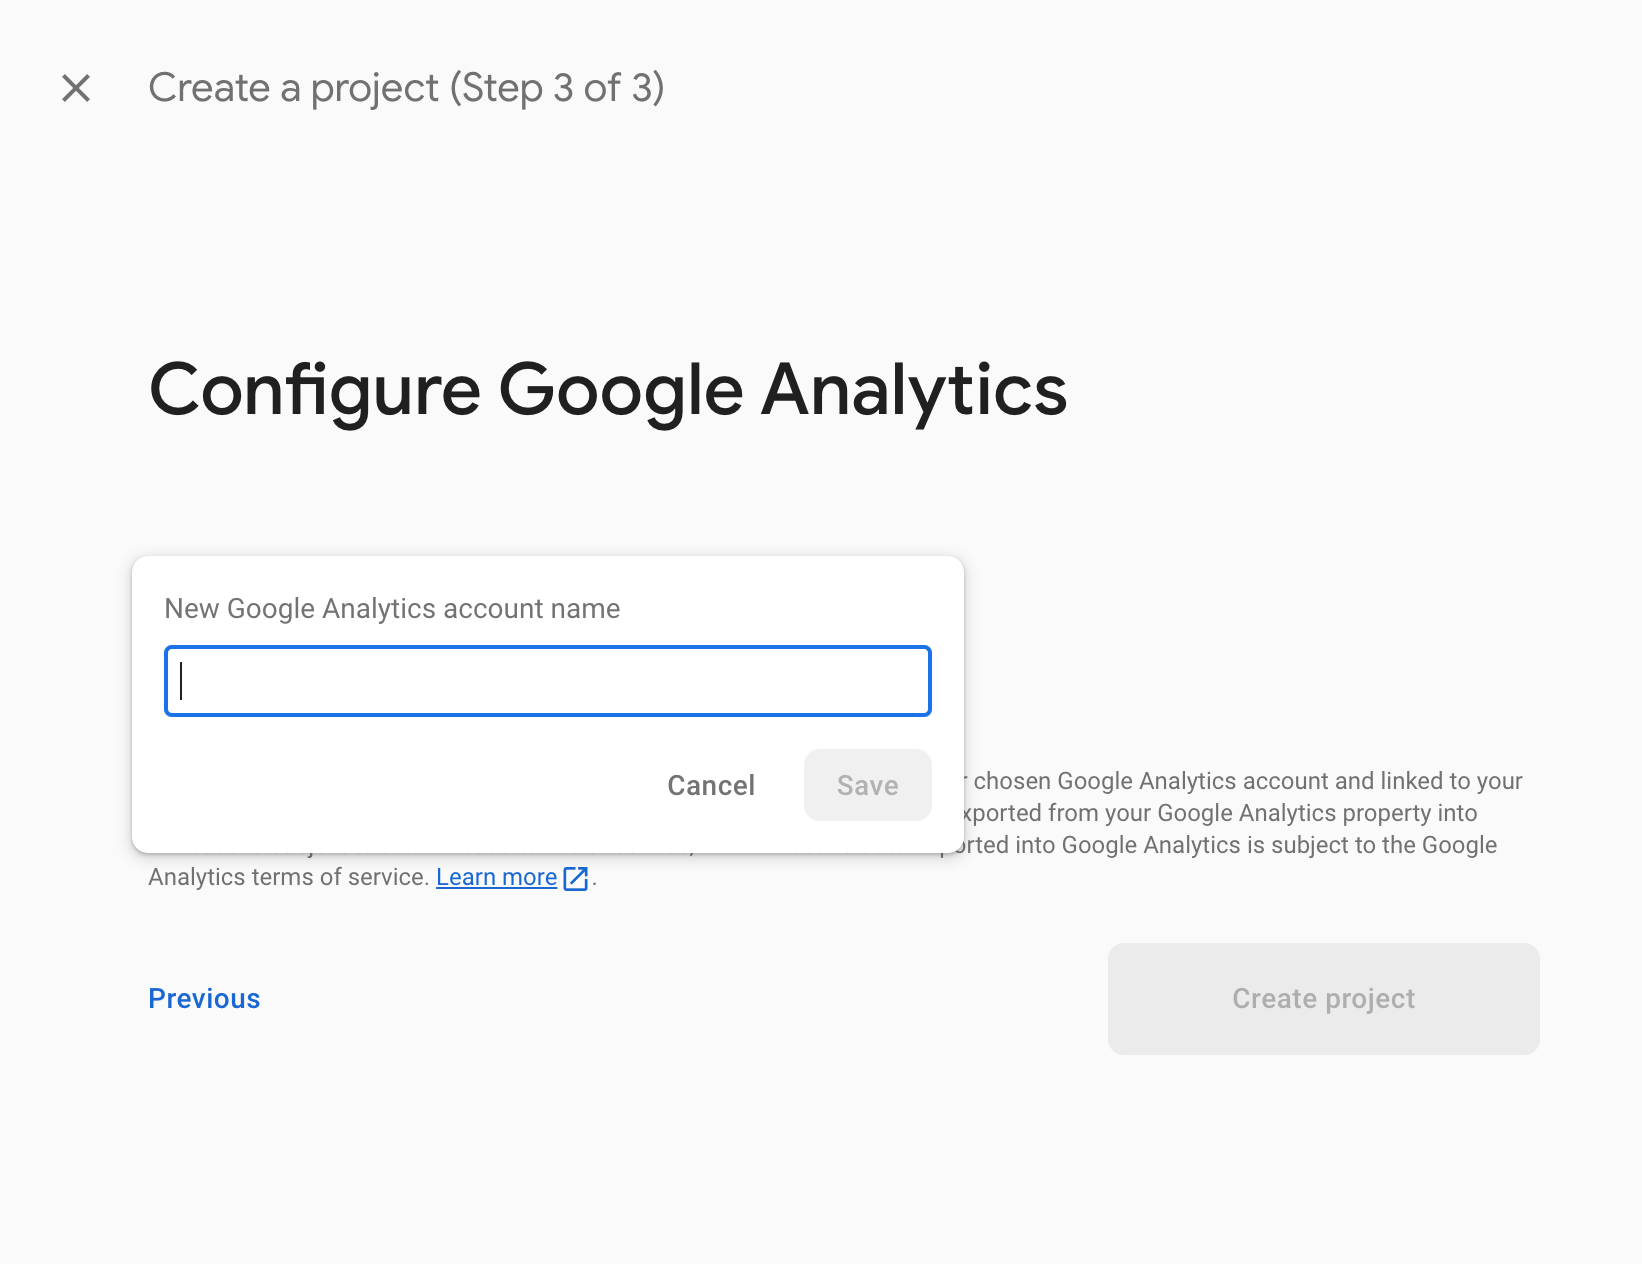
Select your region and press Continue to finish.
Installing Node.js
To link Firebase and Flutter using npm packages, first, install Node.js. You can install it from the web browser, but using nodebrew for installation allows for easy version management.
Install homebrew first if you don't have it:
~🐯$ /bin/bash -c "$(curl -fsSL https://raw.githubusercontent.com/Homebrew/install/HEAD/install.sh)"Then, install nodebrew:
~🐯$ brew install nodebrew
Add nodebrew to the PATH in .zshrc:
~🐯$ echo 'export PATH=$HOME/.nodebrew/current/bin:$PATH' >> ~/.zshrc
Execute .zshrc in the current shell:
~🐯$ source .zshrc
Create a directory for nodebrew:
~🐯$ mkdir -p ~/.nodebrew/src
Check the available node versions:
~🐯$ nodebrew ls-remote
v0.0.1    v0.0.2    v0.0.3    v0.0.4    v0.0.5    v0.0.6

v0.1.0    v0.1.1    v0.1.2    v0.1.3    v0.1.4    v0.1.5    v0.1.6    v0.1.7
v0.1.8
...
v18.0.0   v18.1.0   v18.2.0   v18.3.0   v18.4.0   v18.5.0   v18.6.0   v18.7.0
v18.8.0   v18.9.0   v18.9.1   v18.10.0  v18.11.0  v18.12.0  v18.12.1  v18.13.0
v18.14.0  v18.14.1  v18.14.2  v18.15.0  v18.16.0  v18.16.1
...
Install the recommended version (v18.17.0 at the time of writing):
~🐯$ nodebrew install-binary v18.17.0

~🐯$ nodebrew ls
v18.17.0

~🐯$ nodebrew use v18.17.0

~🐯$ node -v
v18.17.0
Linking Firebase and Flutter App
Install the firebase-tools npm package:
~🐯$ npm install -g firebase-toolsLogin to Firebase:
~🐯$ firebase login
...
✔  Success! Logged in as toshimitsu.kugimoto@gmail.com
Activate flutterfire_cli and add it to the PATH:
~🐯$ dart pub global activate flutterfire_cli
~🐯$ vim .zshrc
Add the following line to .zshrc:
export PATH=$HOME/.pub-cache/bin:$PATHExecute .zshrc:
~🐯$ source .zshrc
Link Flutter app and Firebase using flutterfire command:
~/workspace/flutter-apps/touch_and_hear🐯(main)$ flutterfire configure --project={your_firebase_project_name}The linking process is now complete. The lib/firebase_options.dart file created here is not considered a security risk when pushed to GitHub since it is limited to the linked Firebase Project. However, it is not recommended to include it in open-source projects.
Reference: https://github.com/firebase/flutterfire/discussions/7617
As the source code is also being shared this time, it will be added to the gitignore.
...
# firebase
/lib/firebase_options.dart
Finally, let's install the firebase_core library:
~🐯$ flutter pub add firebase_coreIntegrating Crashlytics:
First, add the flutter_crashlytics package:
$ flutter pub add firebase_crashlyticsModify the source code:
// Add the necessary imports at the beginning of lib/main.dart
import 'dart:async';
import 'package:firebase_crashlytics/firebase_crashlytics.dart';
import 'package:firebase_core/firebase_core.dart';
import 'firebase_options.dart';
Change the main() function to an asynchronous function and initialize Firebase:
void main() async {
  await runZonedGuarded(() async {
    WidgetsFlutterBinding.ensureInitialized();
    await Firebase.initializeApp(options: DefaultFirebaseOptions.currentPlatform);

    // The errors caught in Flutter
    FlutterError.onError = FirebaseCrashlytics.instance.recordFlutterError;
    runApp(const MyApp());
  }, (error, stack) {
    // The errors not caught in Flutter
    FirebaseCrashlytics.instance.recordError(error, stack);
  });
}
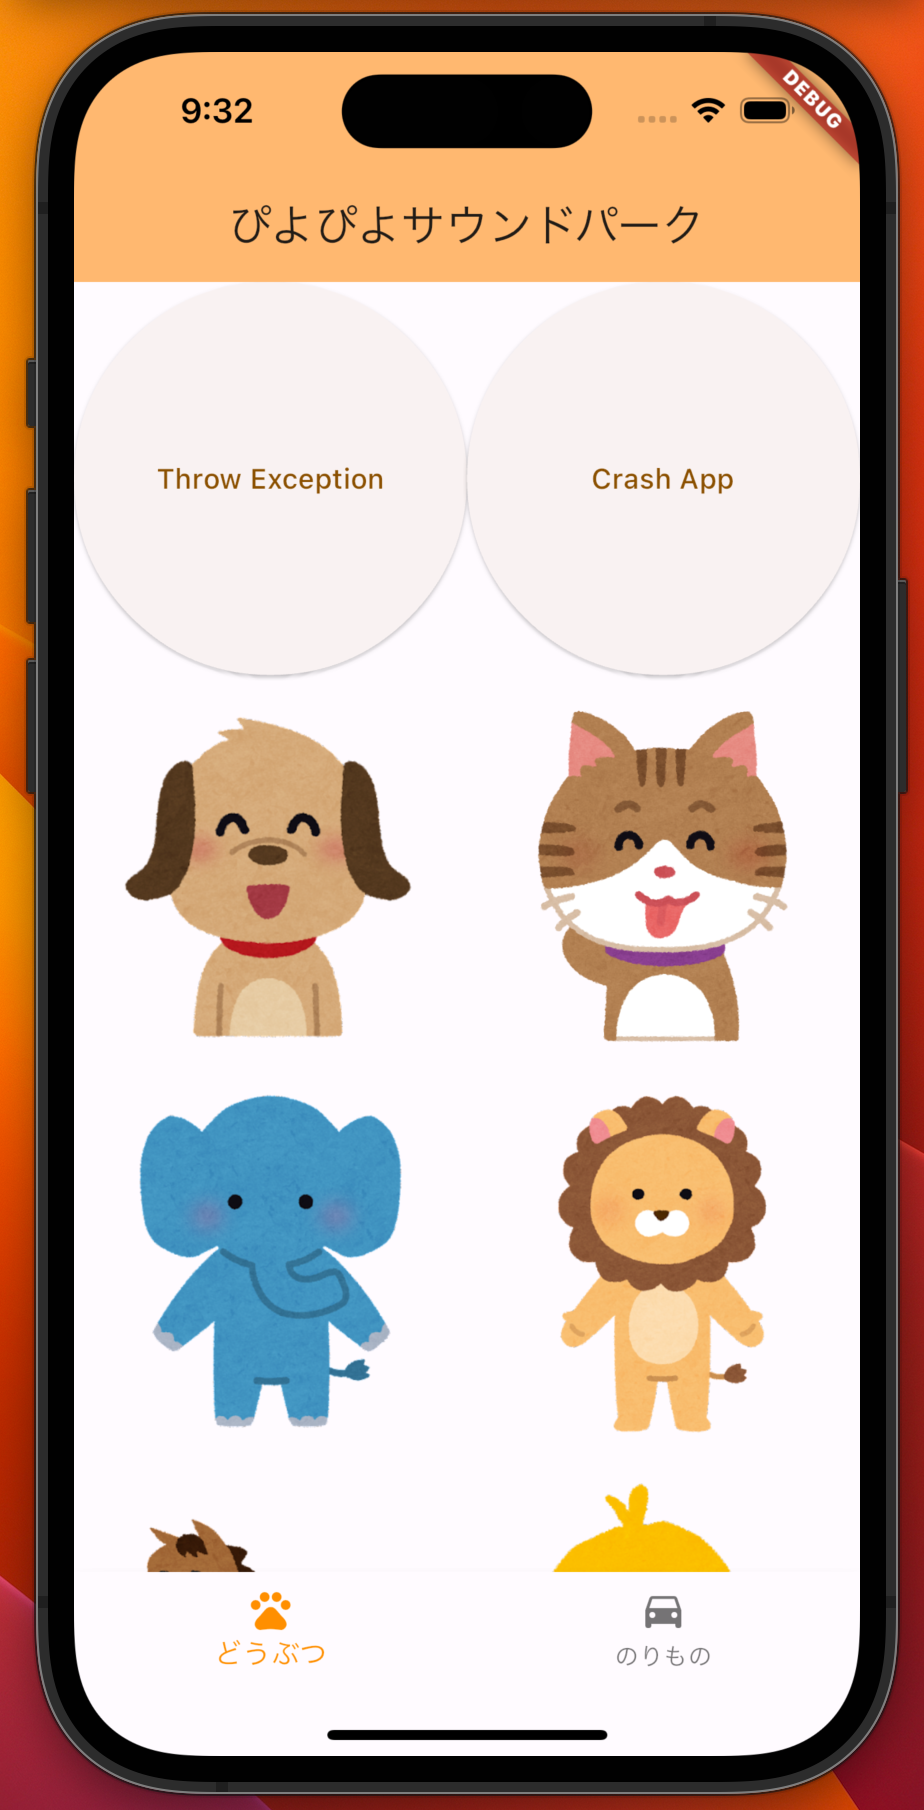
Add buttons for testing exceptions and crashes in the app:
// Add the following buttons inside the _widgetOptions list in lib/main.dart
ElevatedButton(
  onPressed: () {
    FirebaseCrashlytics.instance.log("ExceptionLog");
    throw Exception("Exception");
  },
  child: Text('Throw Exception'),
),
ElevatedButton(
  onPressed: () {
    FirebaseCrashlytics.instance.log("CrashLog");
    FirebaseCrashlytics.instance.crash();
    throw Exception("Crash");
  },
  child: Text('Crash App'),
),
The entire lib/main.dart's diff is the following:
 git diff lib/main.dart
diff --git a/lib/main.dart b/lib/main.dart
index 057d8d4..9a1b696 100644
--- a/lib/main.dart
+++ b/lib/main.dart
@@ -1,10 +1,26 @@
+import 'dart:async';
+
+import 'package:firebase_crashlytics/firebase_crashlytics.dart';
 import 'package:flutter/material.dart';
 import 'package:flutter_localizations/flutter_localizations.dart';
 import 'package:flutter_gen/gen_l10n/app_localizations.dart';
+import 'package:firebase_core/firebase_core.dart';
+import 'firebase_options.dart';
 import 'Sound.dart';

-void main() {
-  runApp(const MyApp());
+void main() async {
+  await runZonedGuarded(() async {
+    WidgetsFlutterBinding.ensureInitialized();
+    await Firebase.initializeApp(
+        options: DefaultFirebaseOptions.currentPlatform);
+
+    // The errors catched in Flutter
+    FlutterError.onError = FirebaseCrashlytics.instance.recordFlutterError;
+    runApp(const MyApp());
+  }, (error, stack) {
+    // The errors not catched in Flutter
+    FirebaseCrashlytics.instance.recordError(error, stack);
+  });
 }

 class MyApp extends StatelessWidget {
@@ -48,6 +64,21 @@ class _MyHomePageState extends State<MyHomePage> {
         crossAxisCount: 2,
         // Generate 100 widgets that display their index in the List.
         children: [
+          // The button throws exception
+          ElevatedButton(
+              onPressed: () {
+                FirebaseCrashlytics.instance.log("ExceptionLog");
+                throw Exception("Exception");
+              },
+              child: Text('Throw Exception')),
+          // The button crashes app
+          ElevatedButton(
+              onPressed: () {
+                FirebaseCrashlytics.instance.log("CrashLog");
+                FirebaseCrashlytics.instance.crash();
+                throw Exception("Crash");
+              },
+              child: Text('Crash App')),
           IconButton(
               icon: Image.asset('assets/images/dog.png'),
               iconSize: 50,
Testing Crashlytics
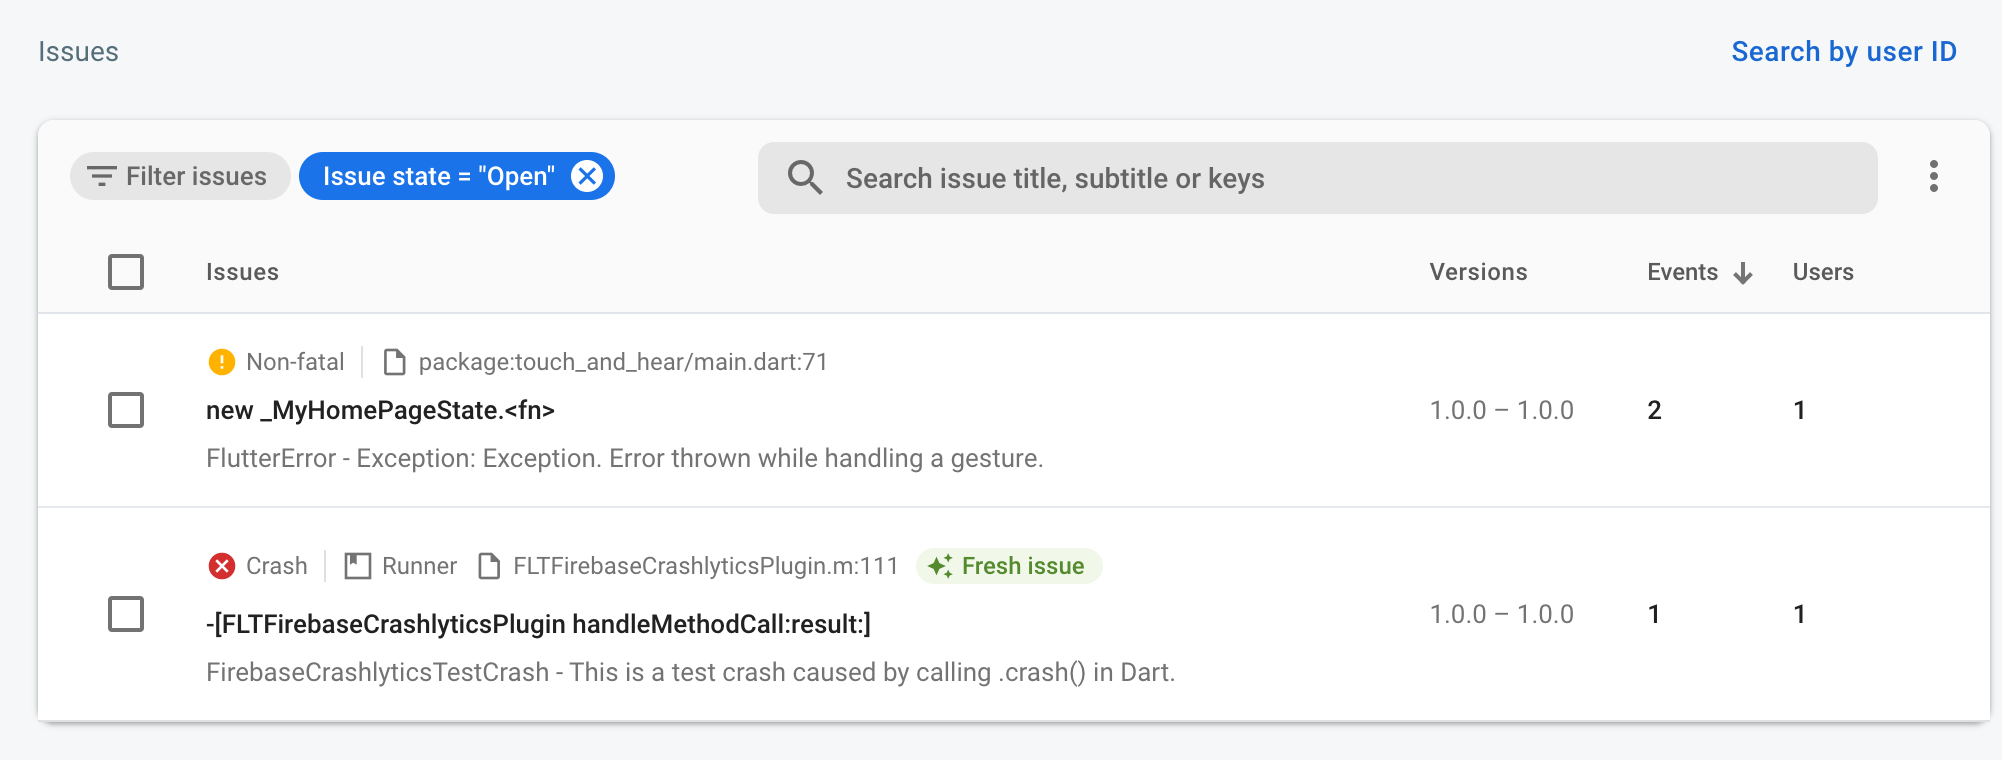
Run the app on an iOS emulator and press "Throw Exception" followed by "Crash App" buttons to trigger the exceptions and crashes. The data when "Crash" will be sent to Crashlytics when you launch the app again.
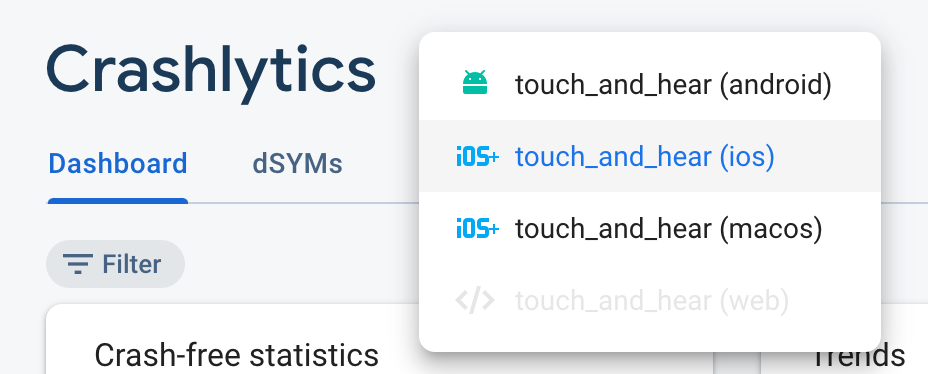
To view Crashlytics reports, go to Firebase Console > Your Project > Crashlytics > touch_and_hear(ios).
Since everything is functioning correctly and has been confirmed, let's remove the buttons implemented earlier.
Here is the final lib/main.dart:
import 'dart:async';

import 'package:firebase_crashlytics/firebase_crashlytics.dart';
import 'package:flutter/material.dart';
import 'package:flutter_localizations/flutter_localizations.dart';
import 'package:flutter_gen/gen_l10n/app_localizations.dart';
import 'package:firebase_core/firebase_core.dart';
import 'firebase_options.dart';
import 'Sound.dart';

void main() async {
  await runZonedGuarded(() async {
    WidgetsFlutterBinding.ensureInitialized();
    await Firebase.initializeApp(
        options: DefaultFirebaseOptions.currentPlatform);

    // The errors catched in Flutter
    FlutterError.onError = FirebaseCrashlytics.instance.recordFlutterError;
    runApp(const MyApp());
  }, (error, stack) {
    // The errors not catched in Flutter
    FirebaseCrashlytics.instance.recordError(error, stack);
  });
}

class MyApp extends StatelessWidget {
  const MyApp({super.key});

  @override
  Widget build(BuildContext context) {
    return MaterialApp(
      title: "ぴよぴよサウンドパーク",
      localizationsDelegates: const [
        AppLocalizations.delegate,
        GlobalMaterialLocalizations.delegate,
        GlobalWidgetsLocalizations.delegate,
        GlobalCupertinoLocalizations.delegate,
      ],
      supportedLocales: AppLocalizations.supportedLocales,
      theme: ThemeData(
        colorScheme: ColorScheme.fromSeed(seedColor: Colors.orange),
        useMaterial3: true,
      ),
      home: MyHomePage(),
    );
  }
}

class MyHomePage extends StatefulWidget {
  const MyHomePage({super.key});

  @override
  State<MyHomePage> createState() => _MyHomePageState();
}

Sound sound = Sound();

class _MyHomePageState extends State<MyHomePage> {
  int _selectedIndex = 0;
  final List<Widget> _widgetOptions = <Widget>[
    GridView.count(
        // Create a grid with 2 columns. If you change the scrollDirection to
        // horizontal, this produces 2 rows.
        crossAxisCount: 2,
        // Generate 100 widgets that display their index in the List.
        children: [
          IconButton(
              icon: Image.asset('assets/images/dog.png'),
              iconSize: 50,
              onPressed: () {
                sound.play(SoundIds.DogButton);
              }),
          IconButton(
              icon: Image.asset('assets/images/cat.png'),
              iconSize: 50,
              onPressed: () {
                sound.play(SoundIds.CatButton);
              }),
          IconButton(
              icon: Image.asset('assets/images/elephant.png'),
              iconSize: 50,
              onPressed: () {
                sound.play(SoundIds.ElephantButton);
              }),
          IconButton(
              icon: Image.asset('assets/images/leo.png'),
              iconSize: 50,
              onPressed: () {
                sound.play(SoundIds.LeoButton);
              }),
          IconButton(
              icon: Image.asset('assets/images/horse.png'),
              iconSize: 50,
              onPressed: () {
                sound.play(SoundIds.HorseButton);
              }),
          IconButton(
              icon: Image.asset('assets/images/piyo.png'),
              iconSize: 50,
              onPressed: () {
                sound.play(SoundIds.PiyoButton);
              }),
        ]),
    GridView.count(
        // Create a grid with 2 columns. If you change the scrollDirection to
        // horizontal, this produces 2 rows.
        crossAxisCount: 2,
        // Generate 100 widgets that display their index in the List.
        children: [
          IconButton(
              icon: Image.asset('assets/images/bicycle.png'),
              iconSize: 50,
              onPressed: () {
                sound.play(SoundIds.BicycleButton);
              }),
          IconButton(
              icon: Image.asset('assets/images/bike.png'),
              iconSize: 50,
              onPressed: () {
                sound.play(SoundIds.BikeButton);
              }),
          IconButton(
              icon: Image.asset('assets/images/fune.png'),
              iconSize: 50,
              onPressed: () {
                sound.play(SoundIds.FuneButton);
              }),
          IconButton(
              icon: Image.asset('assets/images/kyukyusya.png'),
              iconSize: 50,
              onPressed: () {
                sound.play(SoundIds.KyuKyuSyaButton);
              }),
          IconButton(
              icon: Image.asset('assets/images/patocar.png'),
              iconSize: 50,
              onPressed: () {
                sound.play(SoundIds.PatocarButton);
              }),
          IconButton(
              icon: Image.asset('assets/images/super_car.png'),
              iconSize: 50,
              onPressed: () {
                sound.play(SoundIds.SuperCarButton);
              }),
        ]),
  ];

  void _onItemTapped(int index) {
    setState(() {
      _selectedIndex = index;
    });
  }

  @override
  Widget build(BuildContext context) {
    final l10n = AppLocalizations.of(context)!;
    return Scaffold(
      appBar: AppBar(
        backgroundColor: Theme.of(context).colorScheme.inversePrimary,
        title: Text(l10n.appTitle),
      ),
      body: Center(
        child: _widgetOptions.elementAt(_selectedIndex),
      ),
      bottomNavigationBar: BottomNavigationBar(
        items: <BottomNavigationBarItem>[
          BottomNavigationBarItem(
            icon: const Icon(Icons.pets),
            label: l10n.animal,
          ),
          BottomNavigationBarItem(
            icon: const Icon(Icons.directions_car),
            label: l10n.vehicle,
          ),
        ],
        currentIndex: _selectedIndex,
        selectedItemColor: Colors.amber[800],
        onTap: _onItemTapped,
      ),
    );
  }
}
In Conclusion
The changes made in this article are available in the following Pull Request: https://github.com/tkugimot/touch_and_hear/pull/3?w=1
Remaining tasks include:
- Integrating AdMob for advertising
- Creating and setting up icons/feature graphics
- Creating a support site and privacy policy site
- Adding a Drawer (for app usage, contact, privacy policy links)
- Releasing the app on Android
- Releasing the app on iOS
After a quick investigation, it seems that there are some tasks that can only be done after the release for AdMob. Therefore, in the next article, I will summarize the pre-release tasks for content other than AdMob.
